Hi — Brendan here. In this walkthrough I’ll show you how to connect an Airtable base to WordPress using Remote Data Blocks, register Airtable-driven blocks automatically, and keep content synced from Airtable to the block editor and front end of your site. If you juggle client data in Airtable (who doesn’t?), this setup lets you update content in Airtable and have those updates reflected across your WordPress site without logging into WordPress to edit posts or pages.
Table of Contents
- Why use Airtable with Remote Data Blocks?
- What you need before you start
- Quick reference: the steps we’ll cover
- Step-by-step: Create a Personal Access Token in Airtable
- Register Airtable in your WordPress site
- Insert and configure the generated blocks
- Style and preview your collection
- Live sync demo — changing a value in Airtable
- Important caveat: source switching and block registration
- Best practices
- When to use Remote Data Blocks + Airtable
- FAQ
- Conclusion
Why use Airtable with Remote Data Blocks?
If you’ve ever wanted a simple way to keep external content synced into WordPress — think event lists, product catalogs, galleries, or client directories — Remote Data Blocks gives you a drag-and-drop block-based way to loop through external records and display them in the block editor. The result:
- Content is authored and managed in Airtable (familiar UI, collaborators, attachments).
- Blocks in WordPress render that external data directly — no need to import or duplicate records into the WP database.
- When you change a record in Airtable, those changes sync to the registered blocks, updating front-end output.
That workflow is powerful for teams who use Airtable as their source of truth but want a modern, block-driven front end powered by WordPress.
What you need before you start
- An Airtable account (a free account is sufficient for this demo).
- A WordPress site with the Remote Data Blocks plugin installed and activated.
- A Personal Access Token from Airtable with at least “data.read” and “schema.read” scopes.
Also handy: an Airtable base that already contains the fields you want to expose as blocks, ideally with some images or attachments so you can see media render inside the editor and on the front end.
Quick reference: the steps we’ll cover
- Create an Airtable Personal Access Token.
- Register Airtable as a remote data source in WordPress.
- Auto-register blocks that map to your Airtable schema.
- Create a page and insert the generated remote data blocks; choose a collection pattern.
- Style blocks in the editor and test live updates by editing Airtable.
Step-by-step: Create a Personal Access Token in Airtable
First, head to your Airtable account and create a Personal Access Token (PAT). The PAT allows Remote Data Blocks to read both the data (records) and schema (field definitions). When creating the token, make sure you grant the following scopes:
- data.records: read
- data.schema: read
You can scope it to a single base or allow access to all bases. For a demo account, selecting all bases is fine; for production, narrow the scope to the minimal base(s) you require.
Register Airtable in your WordPress site
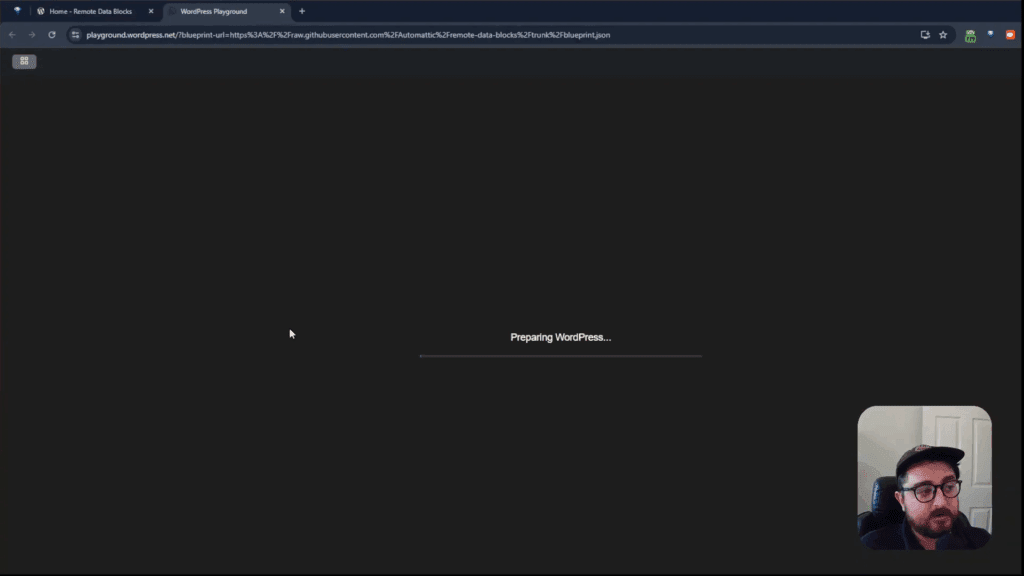
With your PAT copied to the clipboard, open your WordPress site and go to the Remote Data Blocks settings. Create a new Airtable source and give it a descriptive name (I used “remote data blocks” in my demo). Paste in the token and save.
You’ll then select the Airtable base and the specific table you want to expose. Remote Data Blocks offers an auto-registration step here — let it create blocks based on your schema automatically. That’s the big time-saver: you don’t need to manually create block patterns that map every field.
Insert and configure the generated blocks
Once Remote Data Blocks has registered your Airtable source, head to Pages (or whichever content type you prefer) and add a new page. In the block inserter you’ll see newly generated blocks in the Remote Data Blocks section — typically named like “remote data table 1” and “remote data table 1 loop” depending on how the schema mapped.
Insert the “loop” block to render a collection. When you add it, choose the collection loader pattern or edit manually. Choosing a pattern provides a default structure (pagination, no-results template, item template) to get you up and running quickly. The loop behaves like any dynamic collection: it iterates the Airtable records and renders the inner item template for each row.
What the registered block contains
The auto-registered block typically includes:
- An item template mapped to Airtable fields (title, artist, price, etc.).
- A featured image or attachment mapping so your images from Airtable render in the editor.
- Pagination and no-results handling already scaffolded.
In my demo I was using an “interior design / art exhibition” table, with fields like the piece name, artist, and price — and Remote Data Blocks mapped those into the item template automatically. You can then style each block visually in the block editor.
Style and preview your collection
Open the block in the editor and style the layout: spacing, columns, typography, and image sizes are all controlled by regular block options. Because the block loops through real Airtable data, styling a single item updates the look for every record in the collection.
Then check the front end — the same live data renders there. This is where the real benefit shows up: if you want content editors or clients to update listings, they can do it in Airtable and see those changes reflected on the live site without editing WordPress content.
Live sync demo — changing a value in Airtable
To test the sync, edit a field in Airtable (for example rename a piece or change a price). Remote Data Blocks will sync that change and the block will reflect the updated content. In my test I changed a name to “Matt Mullenweg” and confirmed the update appeared on the site after a refresh, without editing the page in WordPress.
Important caveat: source switching and block registration
There’s one limitation I want to call out from my testing: a registered Airtable source maps blocks to a specific base/table combination. If you edit that registered source to point at a different base or table, the previously registered blocks tied to the first base can be lost or become disconnected.
What that means in practice:
- If you need multiple Airtable bases or tables exposed via Remote Data Blocks, register each as a separate source rather than reusing one source and switching bases.
- Registering multiple Airtable sources ensures each generated block pattern stays linked to the correct external schema.
This is a small but important operational detail to keep in mind when planning multisource setups. It’s something I hope will be addressed in future plugin updates to make multiple-base workflows smoother.
Best practices
- Use descriptive source names (e.g., “Events — Airtable” or “Product Catalog — Airtable”) so you know which WordPress blocks correspond to which Airtable base.
- Restrict token scope to the minimal base(s) required for production to keep access control tidy.
- If you’re designing for clients, give them an Airtable view that contains only the fields you want published to avoid accidental exposure of internal-only data.
- Keep the Airtable schema stable: changing field names or types can require a re-registration or mapping adjustments in the block editor.
When to use Remote Data Blocks + Airtable
This combo is ideal for:
- Event listings and schedules that change frequently.
- Photo galleries or portfolios where assets are managed outside WordPress.
- Catalogs, directories, or property lists managed by non-technical teams in Airtable.
- Any scenario where a single data source powers multiple front-end pages or components and you want centralized editing.
FAQ
Do I need a paid Airtable account to use this?
No. A free Airtable account is sufficient for many use cases. You only need to create a Personal Access Token and give it the necessary read scopes for the base/table you plan to use.
Will images from Airtable render in the WordPress editor?
Yes. Attachments (featured images) in Airtable will map into the registered item template and render in the editor and front end. That makes visual layouts easy to build without importing media into WordPress.
Can I have multiple Airtable bases powering different blocks?
Yes, but register each base as a separate Airtable source in Remote Data Blocks. Avoid switching the same source between bases because that can break or orphan previously generated blocks.
How does syncing work — is it real-time?
Syncing behavior depends on Remote Data Blocks’ implementation and your cache. In my tests, changes in Airtable were reflected in the editor/front end after a refresh. For production, consider caching and refresh strategies so updates appear when you expect them.
Can I customize the generated item template?
Absolutely. The auto-registered template is a starting point. Edit the item template in the block editor to rearrange fields, add styles, or incorporate additional blocks. Those changes apply to how each record renders in the loop.
Conclusion
Remote Data Blocks plus Airtable is a compelling pattern for teams who want to keep content centralized in Airtable while leveraging WordPress’ block editor for presentation. The auto-registration of blocks based on schema is a real time-saver, images map through nicely, and the loop/block idiom feels familiar to anyone who’s built dynamic templates before.
Keep an eye on the source-registration behavior if you plan to use multiple Airtable bases. For single-base workflows or when each base is registered separately, this setup works very well and provides a clean separation between content editing (Airtable) and presentation (WordPress).
If you manage client data in Airtable or want to empower non-technical editors to update site content without touching WordPress, this workflow is worth trying.
See you in the next walkthrough — thanks for reading.