
Welcome back! Today, I’m excited to share how to dynamically pass values from multiple APIs to create posts on your WordPress website. This process may seem straightforward when it comes to the post title and content, but what about including a featured image? That’s where the real challenge lies. Let’s dive into how we can automate this process effectively.
Table of Contents
- Setting the Stage: What We’re Building
- Understanding the Workflow
- Step 1: Create an Airtable Trigger
- Step 2: Fetch an Image from Pexels
- Step 3: Creating a Post in WordPress
- Step 4: Attaching the Featured Image
- Step 5: Update Airtable with Post Details
- Testing the Workflow
- Conclusion: The Power of Automation
- FAQ
Setting the Stage: What We’re Building
In this tutorial, we’re going to create an automation that allows us to add a new city, such as Manila, and have it automatically generate a post on our WordPress site. This includes a title, a short description of the city, and a featured image fetched from the Pexels API. We’ll utilize the Airtable API to streamline our data management, and by the end, you’ll see how easy it is to enrich a spreadsheet with minimal input.
Understanding the Workflow
The workflow we are going to set up involves several key components:
- Trigger from Airtable when a new city is added.
- Fetch a description and an image from the Pexels API based on the city name.
- Create a post in WordPress with the title, description, and featured image.
- Update our Airtable with the new post details.
Let’s get started!
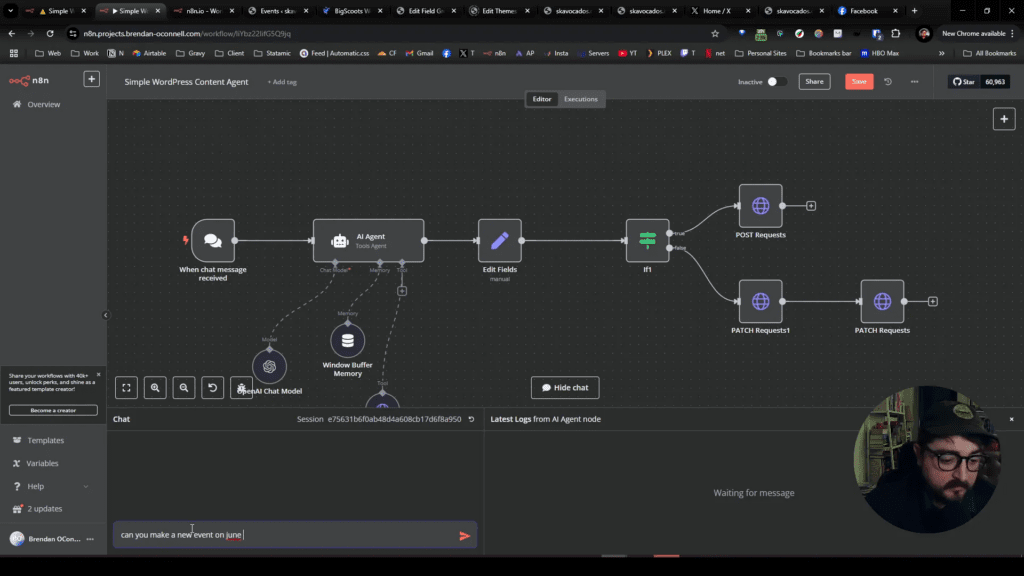
Step 1: Create an Airtable Trigger
First, we’ll set up our workflow using an Airtable trigger. This will monitor our Airtable base for any new entries. When we type in the title of our post, it will trigger the workflow to run.
In n8n, search for the Airtable node and select the “On New Airtable Event” trigger. Make sure to have your personal access token added, and set the pulling mode to run every minute.
Step 2: Fetch an Image from Pexels
Next, we want to dynamically fetch an image from the Pexels API. This involves adding an HTTP request node to our workflow. Access the Pexels API documentation to find the correct endpoint to get images based on a search query.
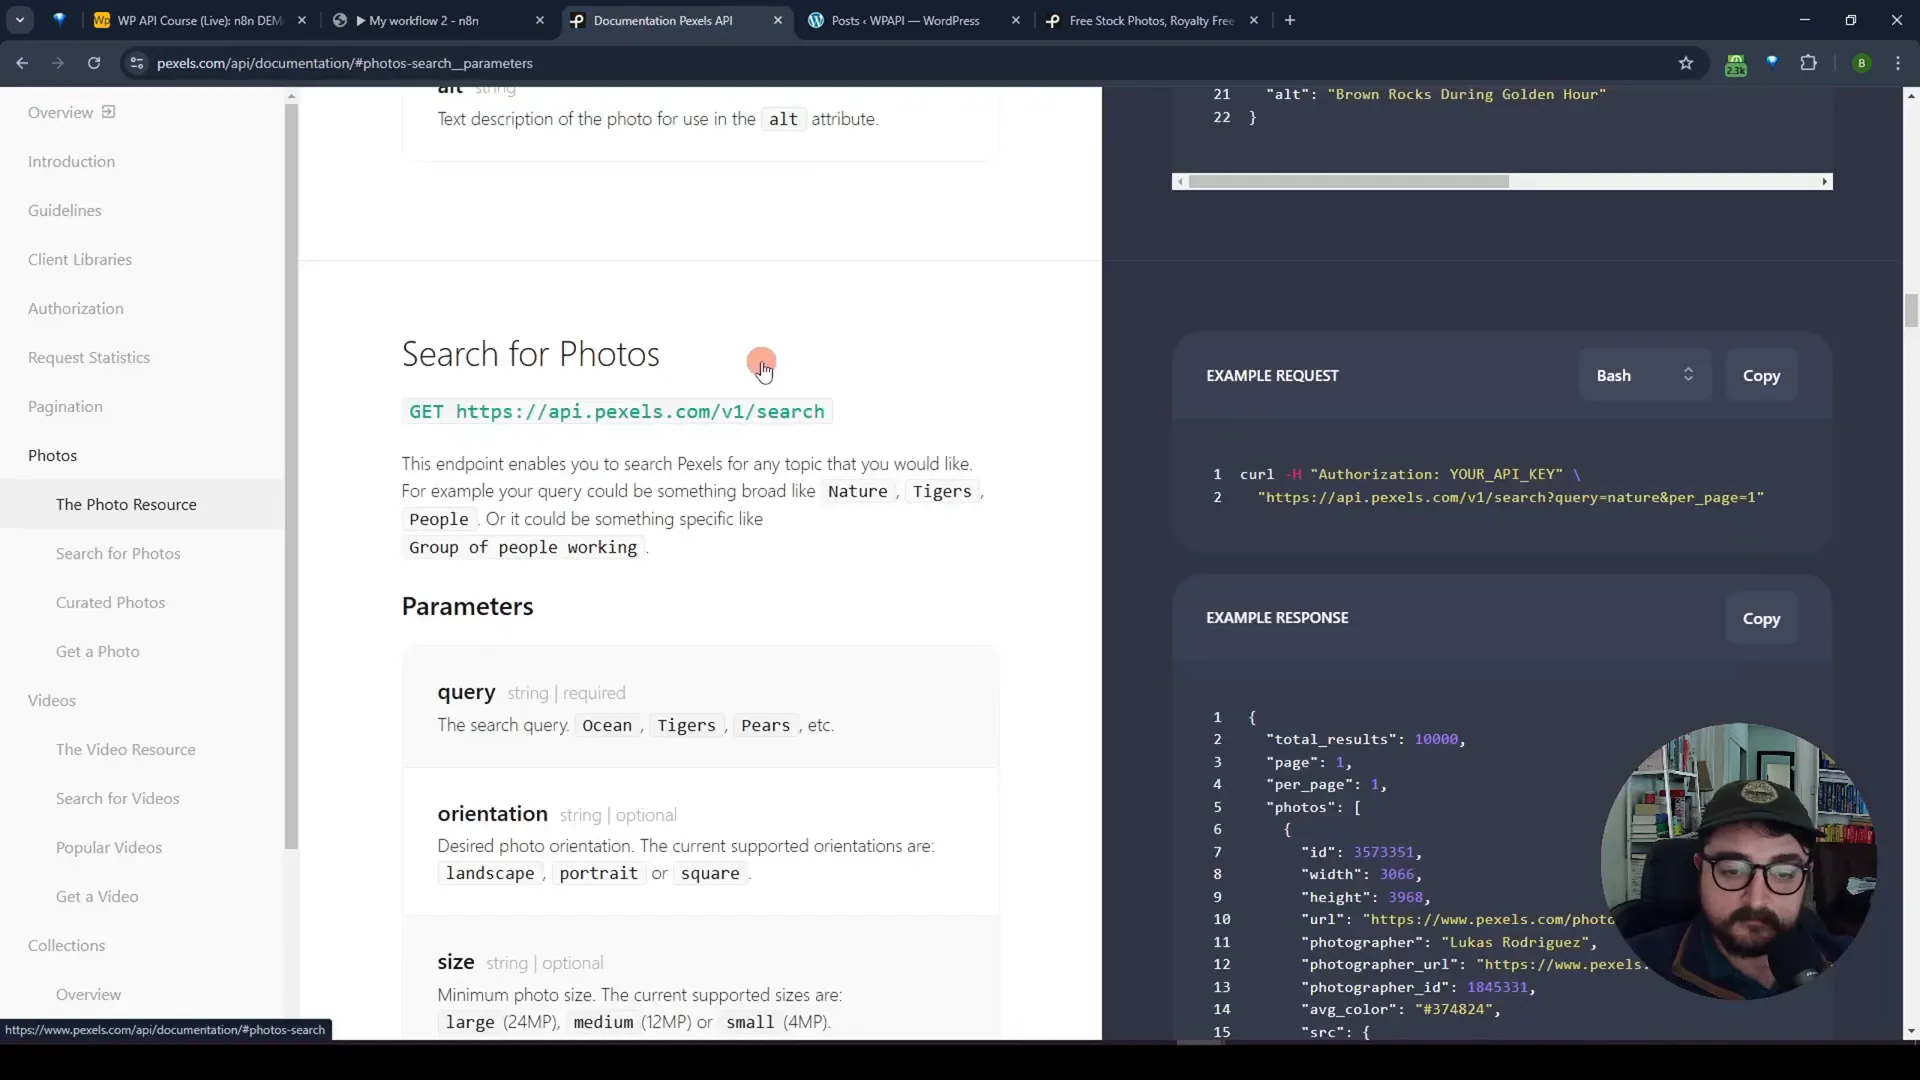
Make sure you authenticate your requests with the API key you obtain from your Pexels account. Test your request to ensure you’re receiving the expected data.
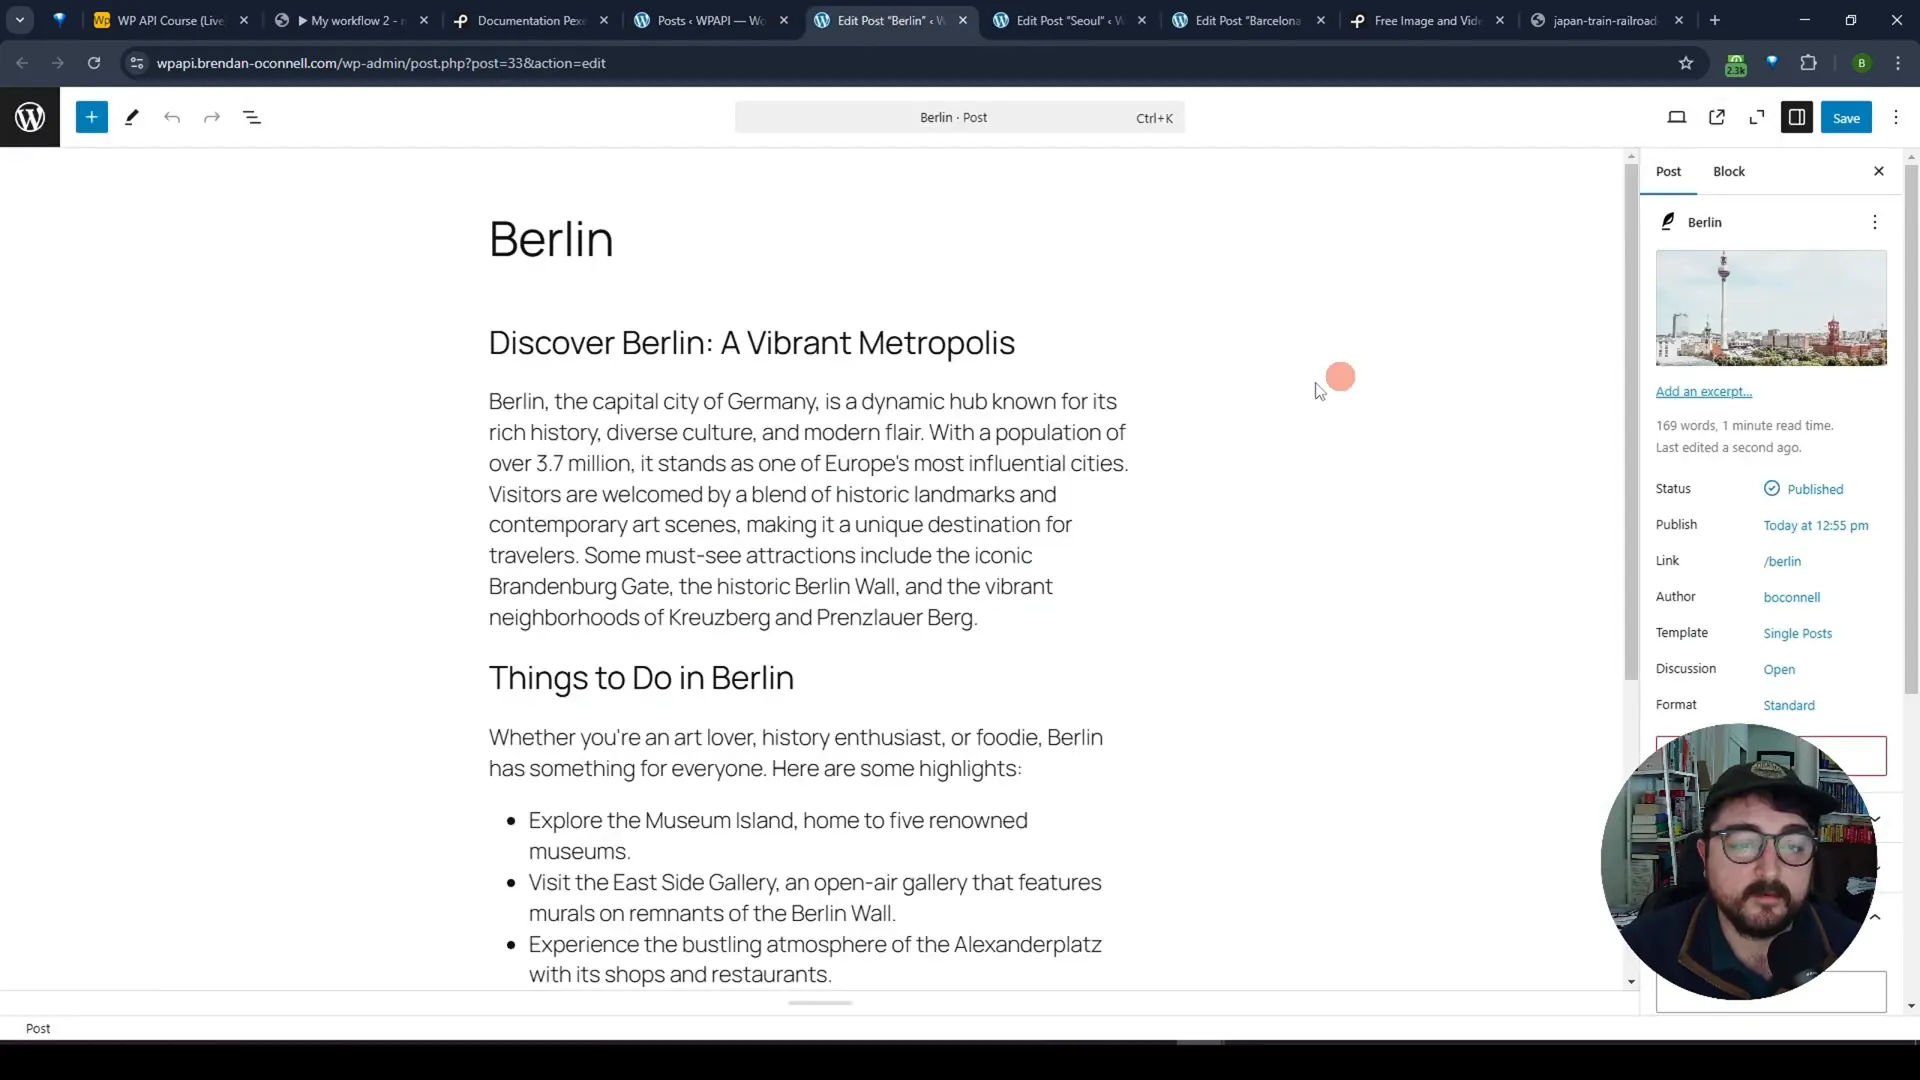
Step 3: Creating a Post in WordPress
After fetching the image, it’s time to set up the WordPress node to create a post. Before we can do that, we need to authenticate with WordPress using an application password. This is not the same as your regular password.

Once authenticated, specify the post title, content, and status (set it to published). You’ll also need to include the image fetched from Pexels as the featured image.
Step 4: Attaching the Featured Image
To attach the featured image, we will need to perform a few more HTTP requests. First, download the image from the Pexels API, then post it to the WordPress media library.
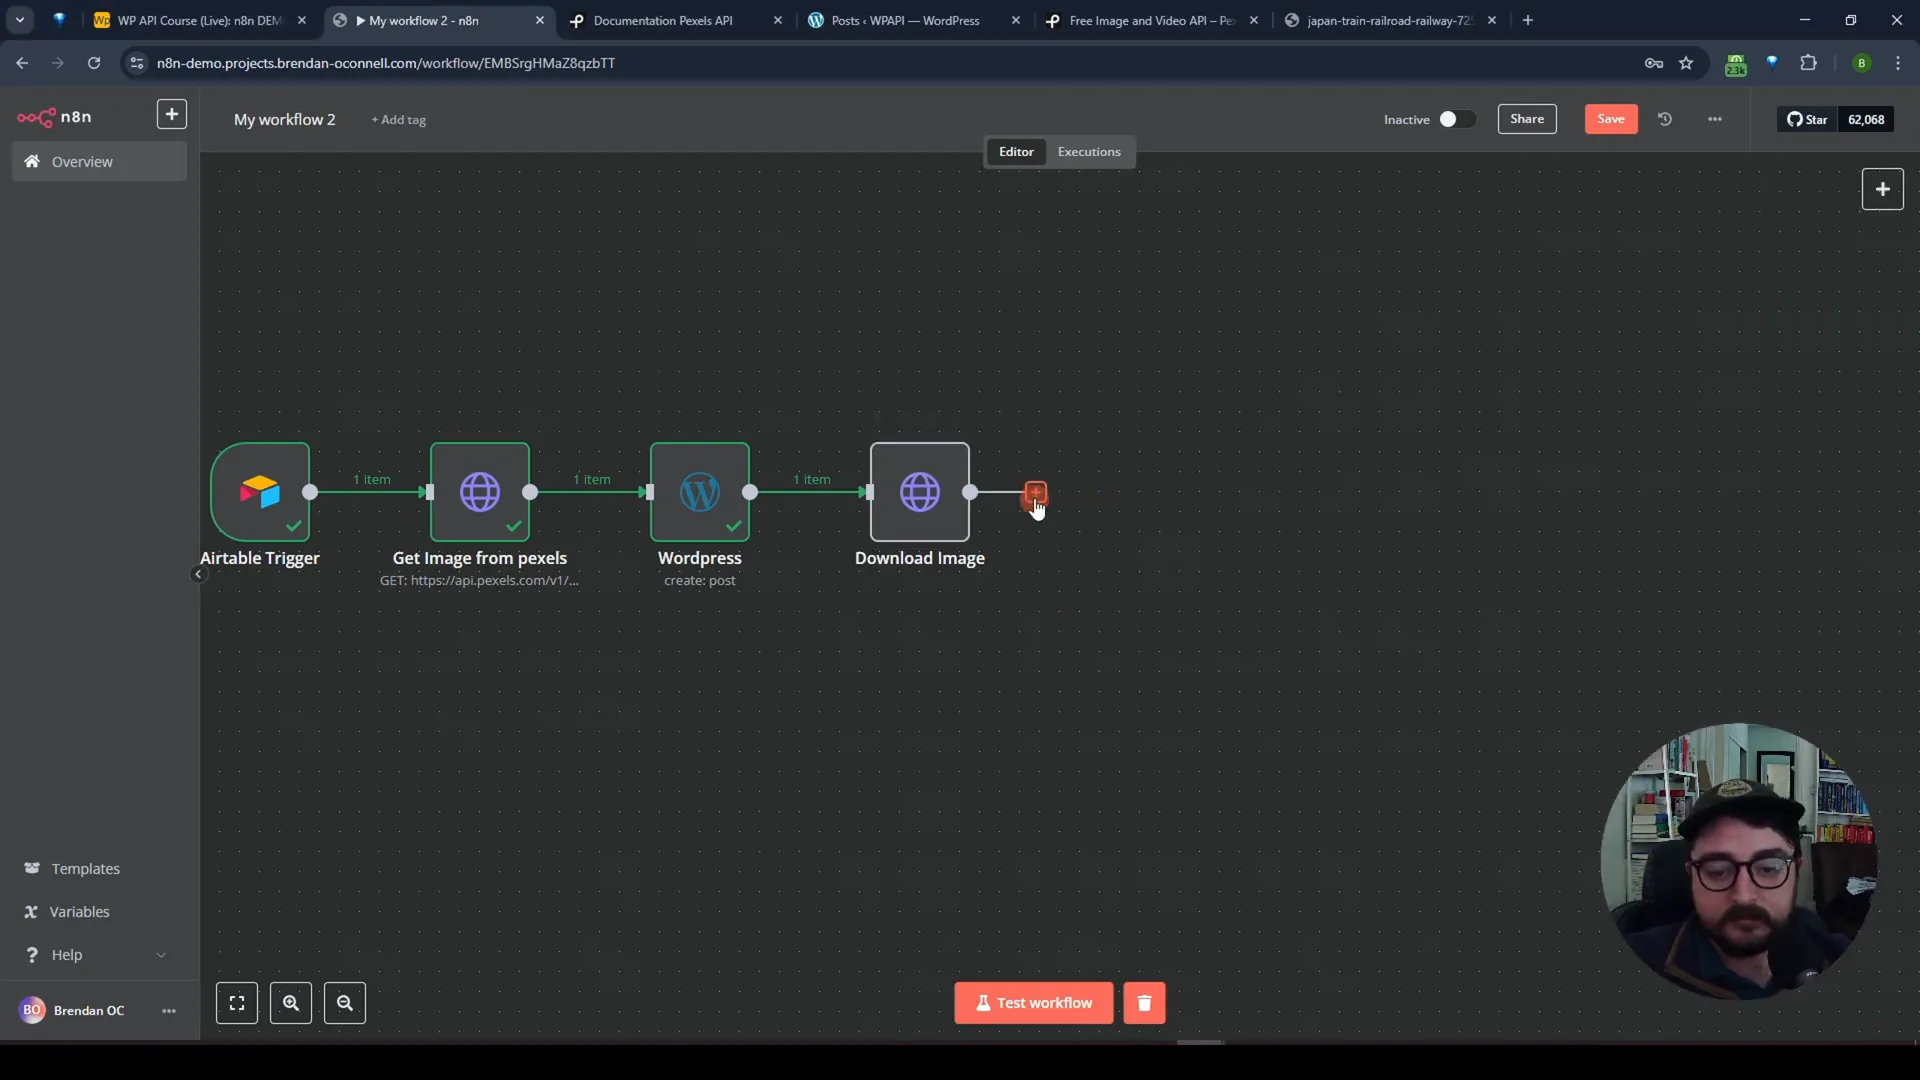
Lastly, update the post in WordPress to include the image ID as the featured media. This is crucial for ensuring the image displays correctly on your site.
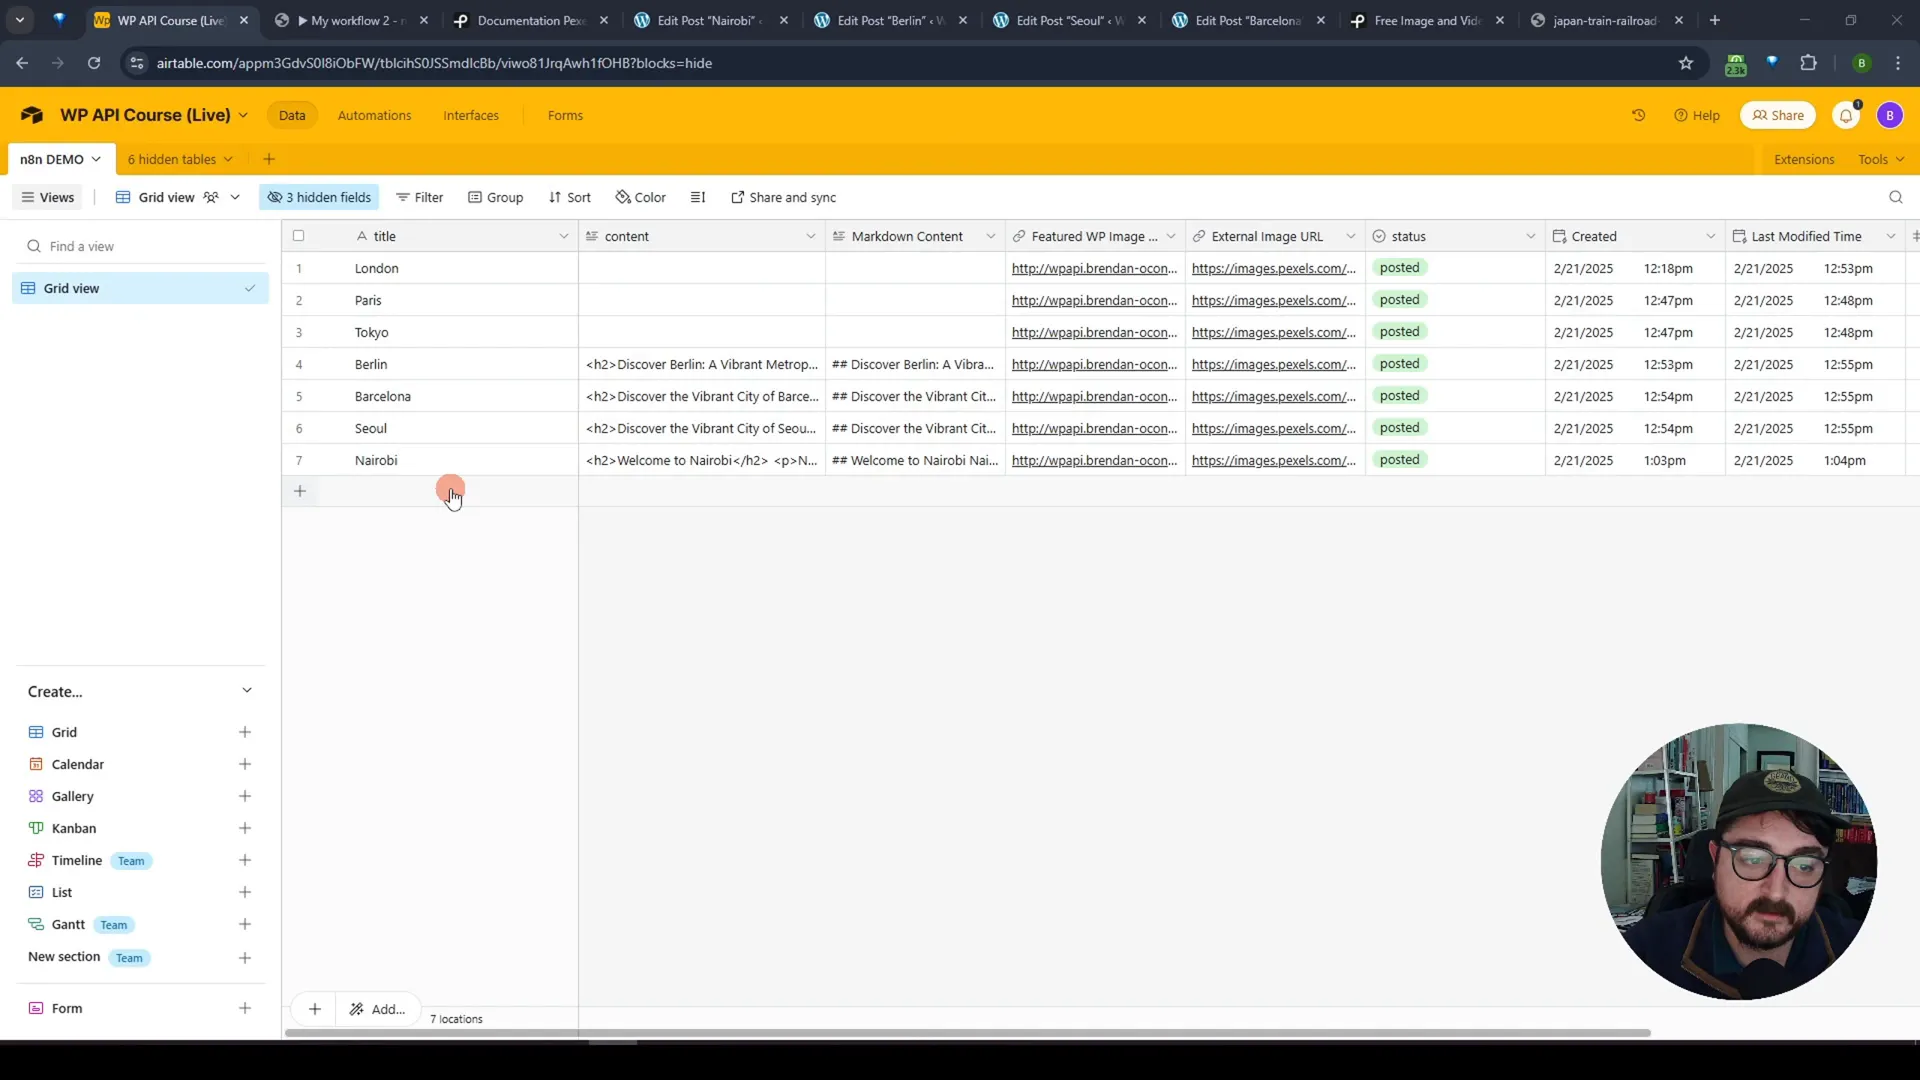
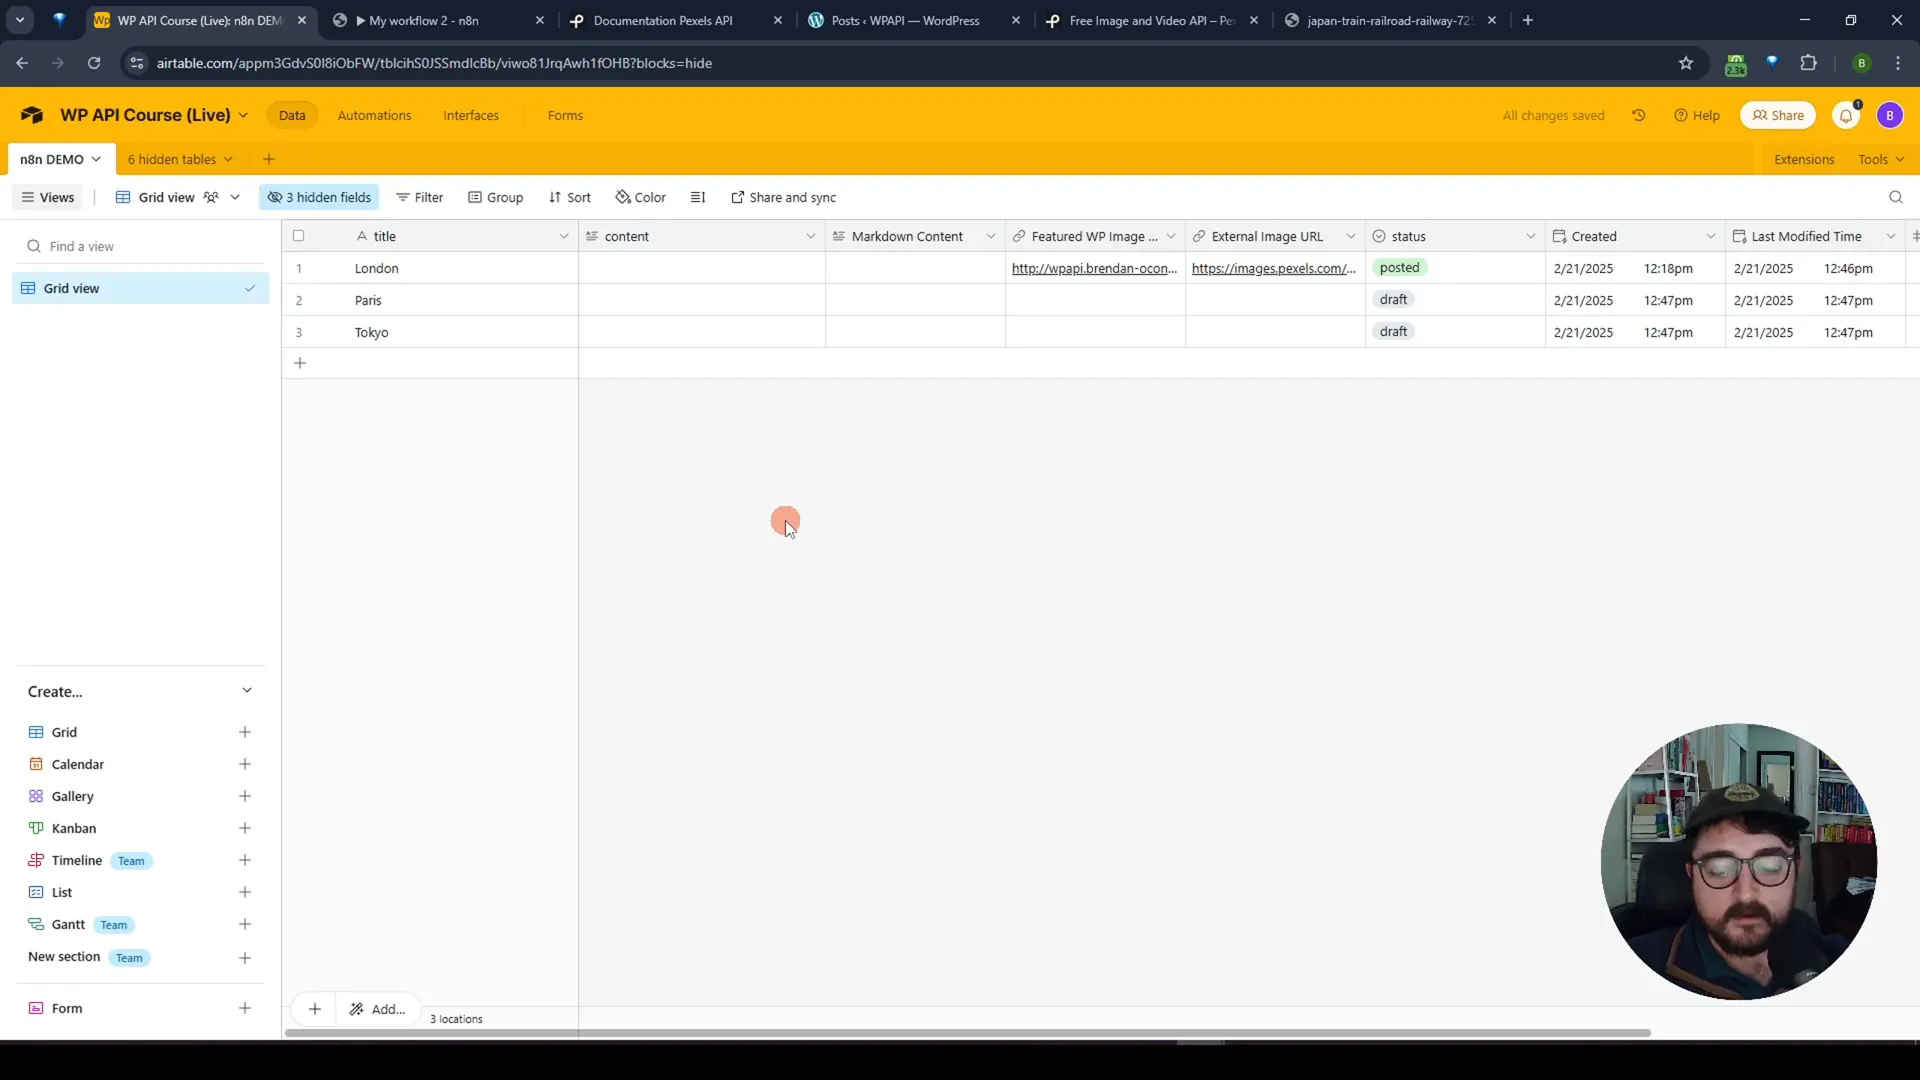
Step 5: Update Airtable with Post Details
After successfully creating the post, we want to send the data back to Airtable. This includes updating the status to “posted” and adding the featured image URL and external URL for reference.
Testing the Workflow
Once all the steps are in place, it’s time to test the workflow. Add a new city in your Airtable, and watch as the automation takes over. After a minute, you should see the new post on your WordPress site, complete with a description and a featured image.
Conclusion: The Power of Automation
This workflow demonstrates how to streamline your content creation process using n8n, Airtable, Pexels, and WordPress. By automating these steps, you save time and reduce the chance of error, allowing you to focus on creating quality content.
If you found this tutorial helpful, please give it a thumbs up and consider subscribing for more content on automation and web development. Let me know your thoughts in the comments below!
FAQ
1. What is n8n?
n8n is an open-source workflow automation tool that allows you to connect various apps and services to automate tasks.
2. Do I need programming skills to use n8n?
No, you can create workflows using a visual interface, but having some technical knowledge can help you customize your workflows further.
3. Can I use other APIs with n8n?
Absolutely! n8n supports many APIs, and you can also make custom HTTP requests to any API.
4. Is it possible to schedule workflows in n8n?
Yes, you can set up triggers to run workflows on specific schedules or based on events.
5. Where can I learn more about using n8n?
You can visit the n8n website for documentation, tutorials, and community support.
Thank you for reading! Happy automating!