In this blog post, we will explore how to create a custom star rating block in WordPress using Pinegrow and Tailwind CSS. This block will allow users to rate products or services while providing flexibility and a user-friendly interface. We will cover everything from setting up the project to adding functionality and styling. Let’s dive in!
Table of Contents
- Understanding the Star Rating Block
- Setting Up the Project in Pinegrow
- Creating the Star Rating Structure
- Incorporating SVG Icons for Stars
- Turning the Structure into a Custom Block
- Adding Inner Blocks for Content Flexibility
- Styling the Star Rating Block
- Implementing Conditional Rendering for Star Ratings
- Final Touches and Testing
- Conclusion
- FAQ
Understanding the Star Rating Block
The star rating block is a dynamic block that utilizes conditional rendering to display filled and empty star icons based on user input. This block also features inner blocks, allowing users to add additional content such as text or images. The goal is to create a user-friendly experience for clients who may not have extensive coding knowledge.
As we build this block, we’ll implement display visibility block conditions to show or hide SVG icons based on the selected rating. This approach ensures that clients have an interactive element for their site without needing complex coding skills.
Setting Up the Project in Pinegrow
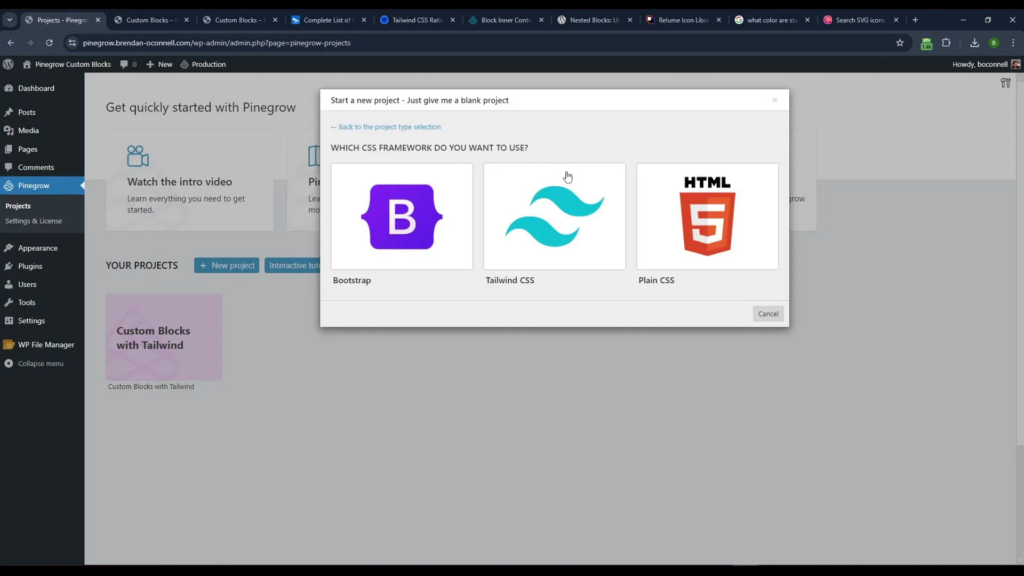
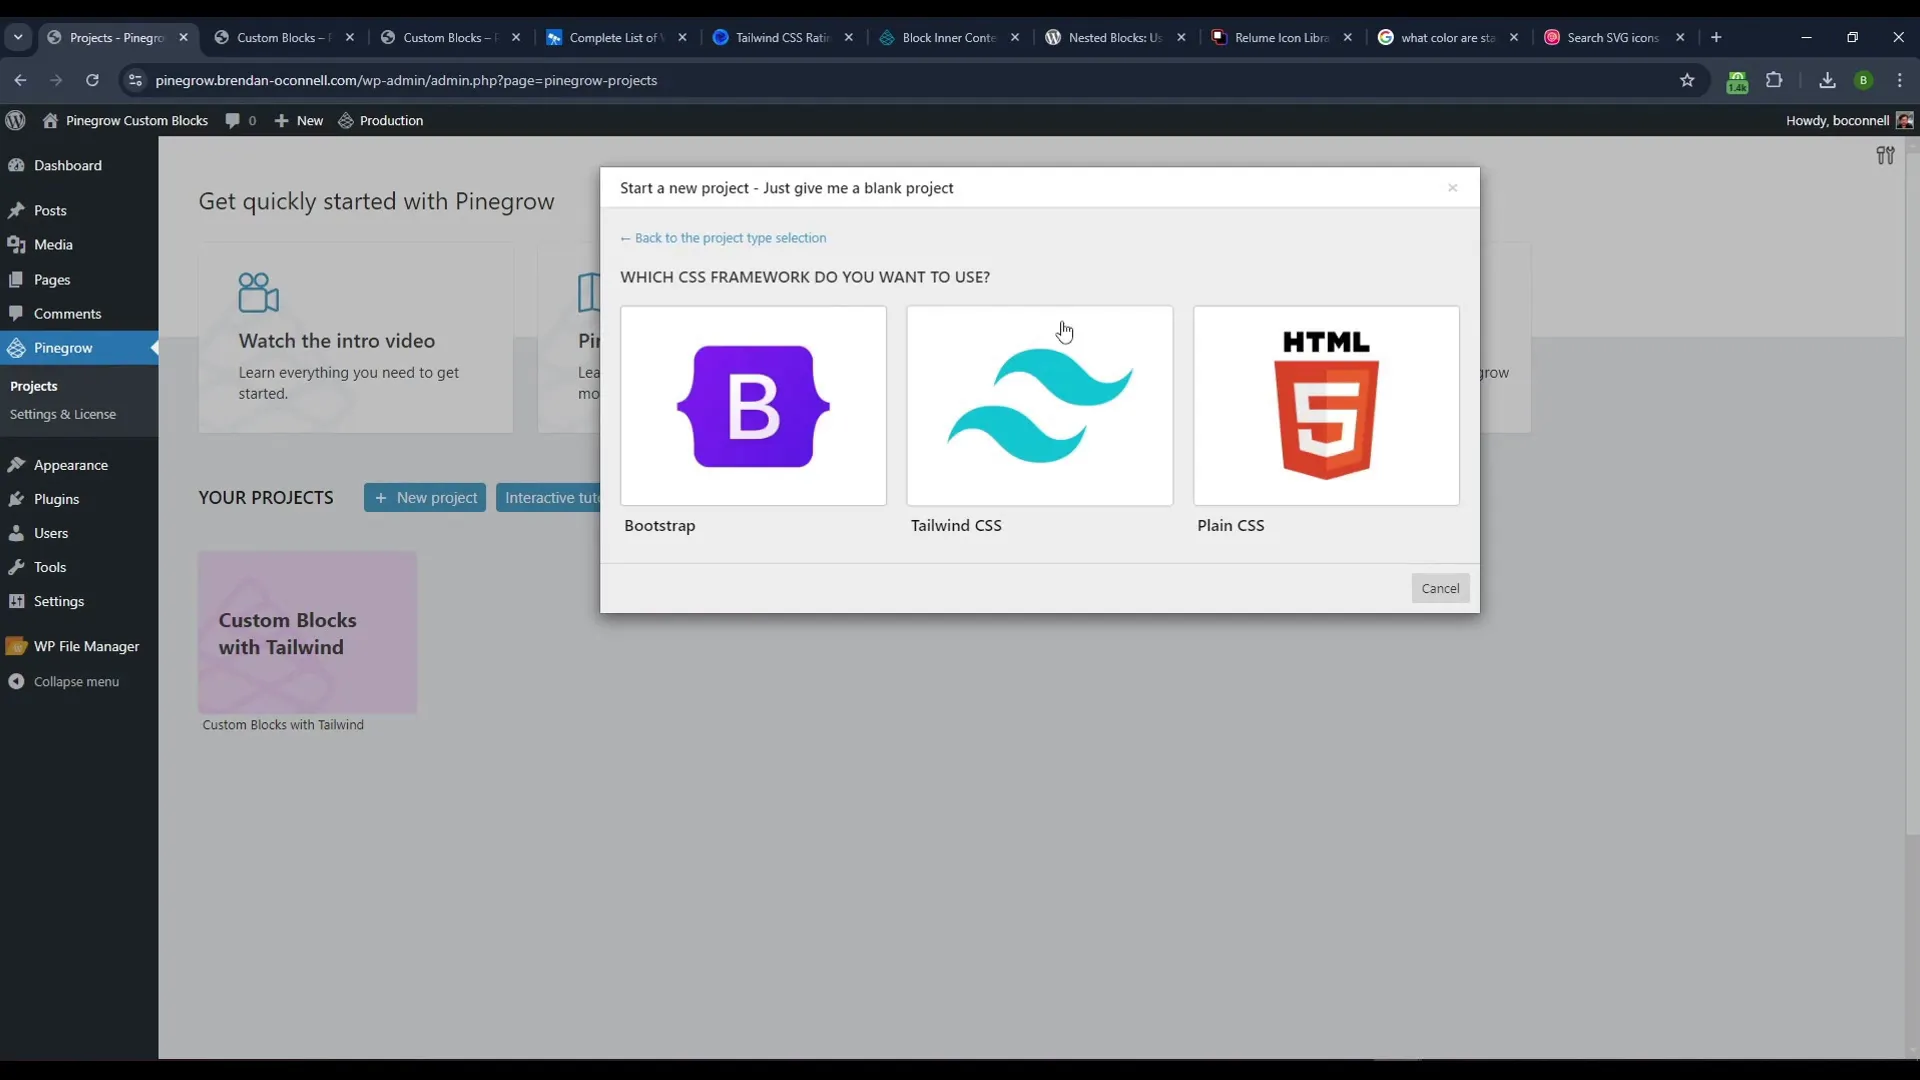
First, let’s set up our project in Pinegrow. Open Pinegrow and create a new blank project. We’ll use Tailwind CSS for styling, which provides a clean and modern look.
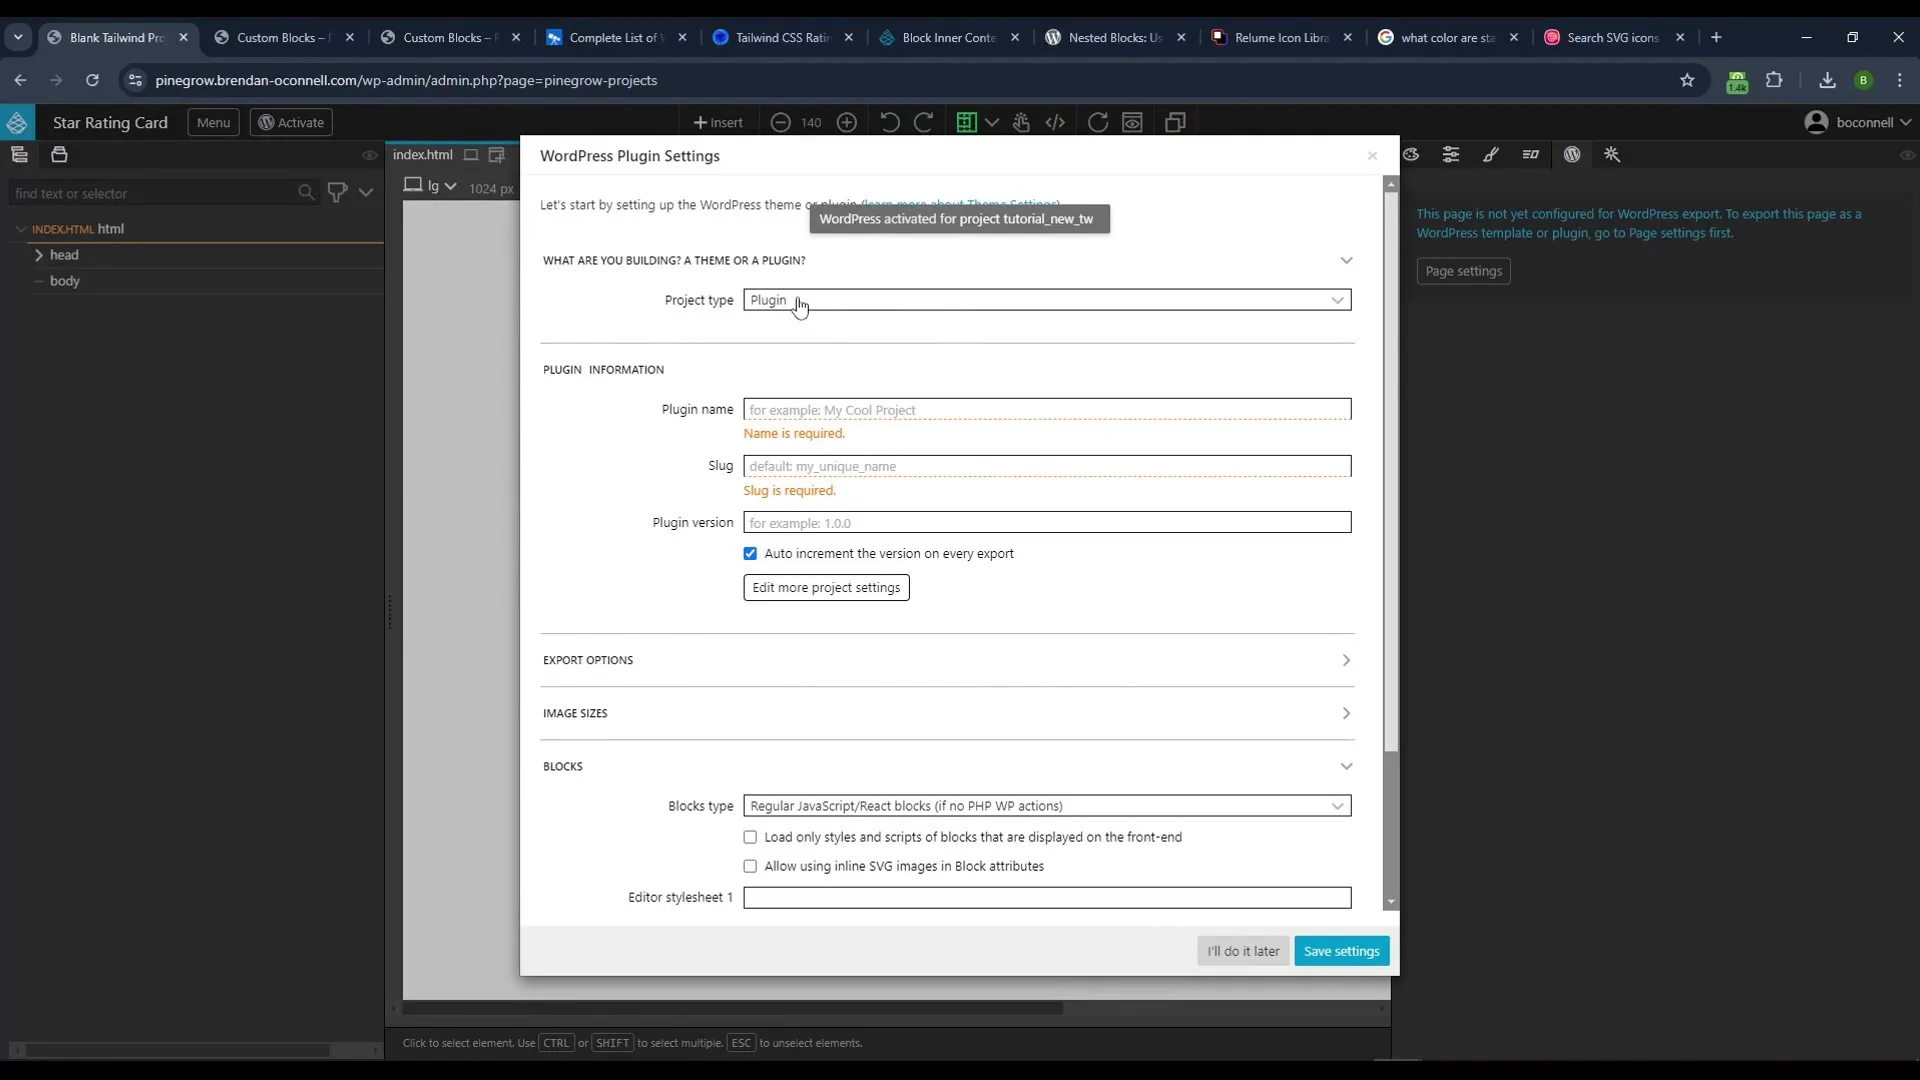
Once the project is created, save it as “star rating card.” This name will help us identify the project later. Next, activate WordPress within Pinegrow, as we are building a custom block plugin.
Creating the Star Rating Structure
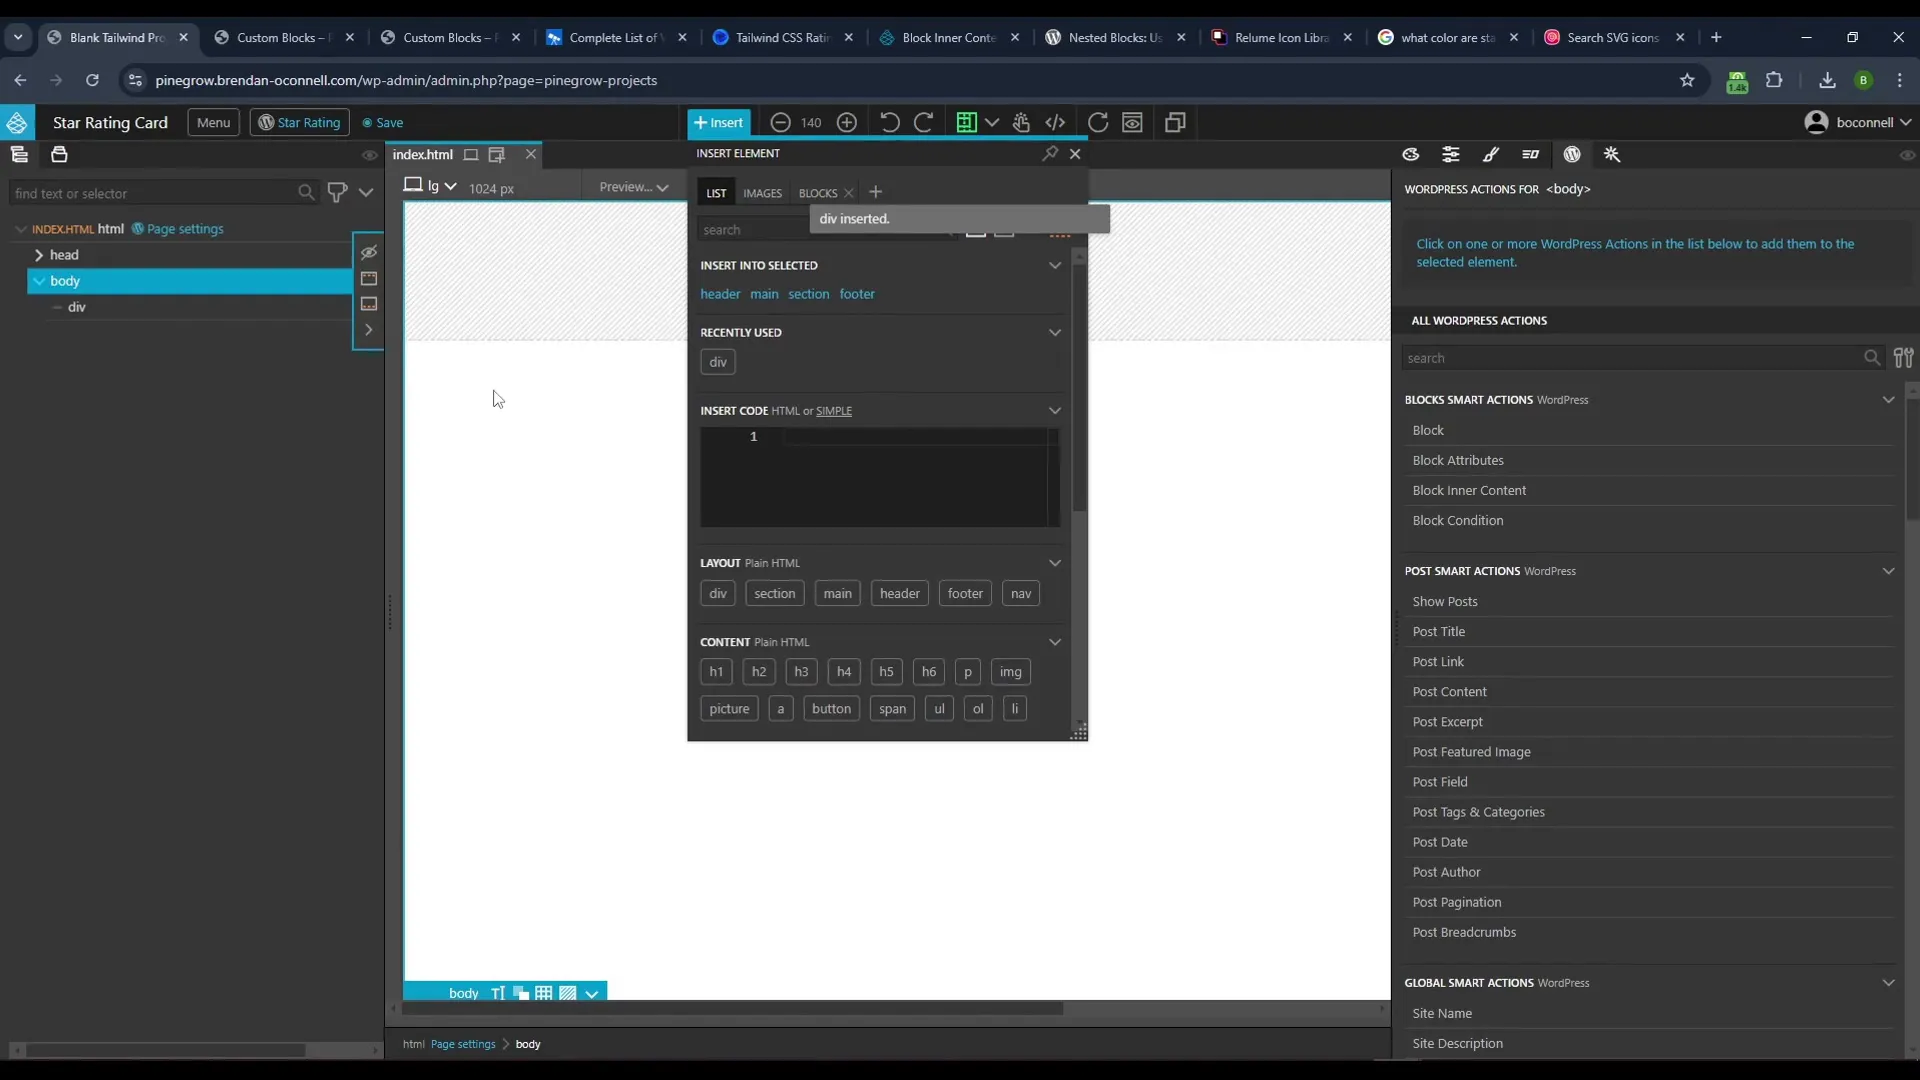
Within our card, we need to create a structure that includes a title, a paragraph for the review content, and a wrapper for the star ratings. Start by adding a <div> that will contain all these elements.
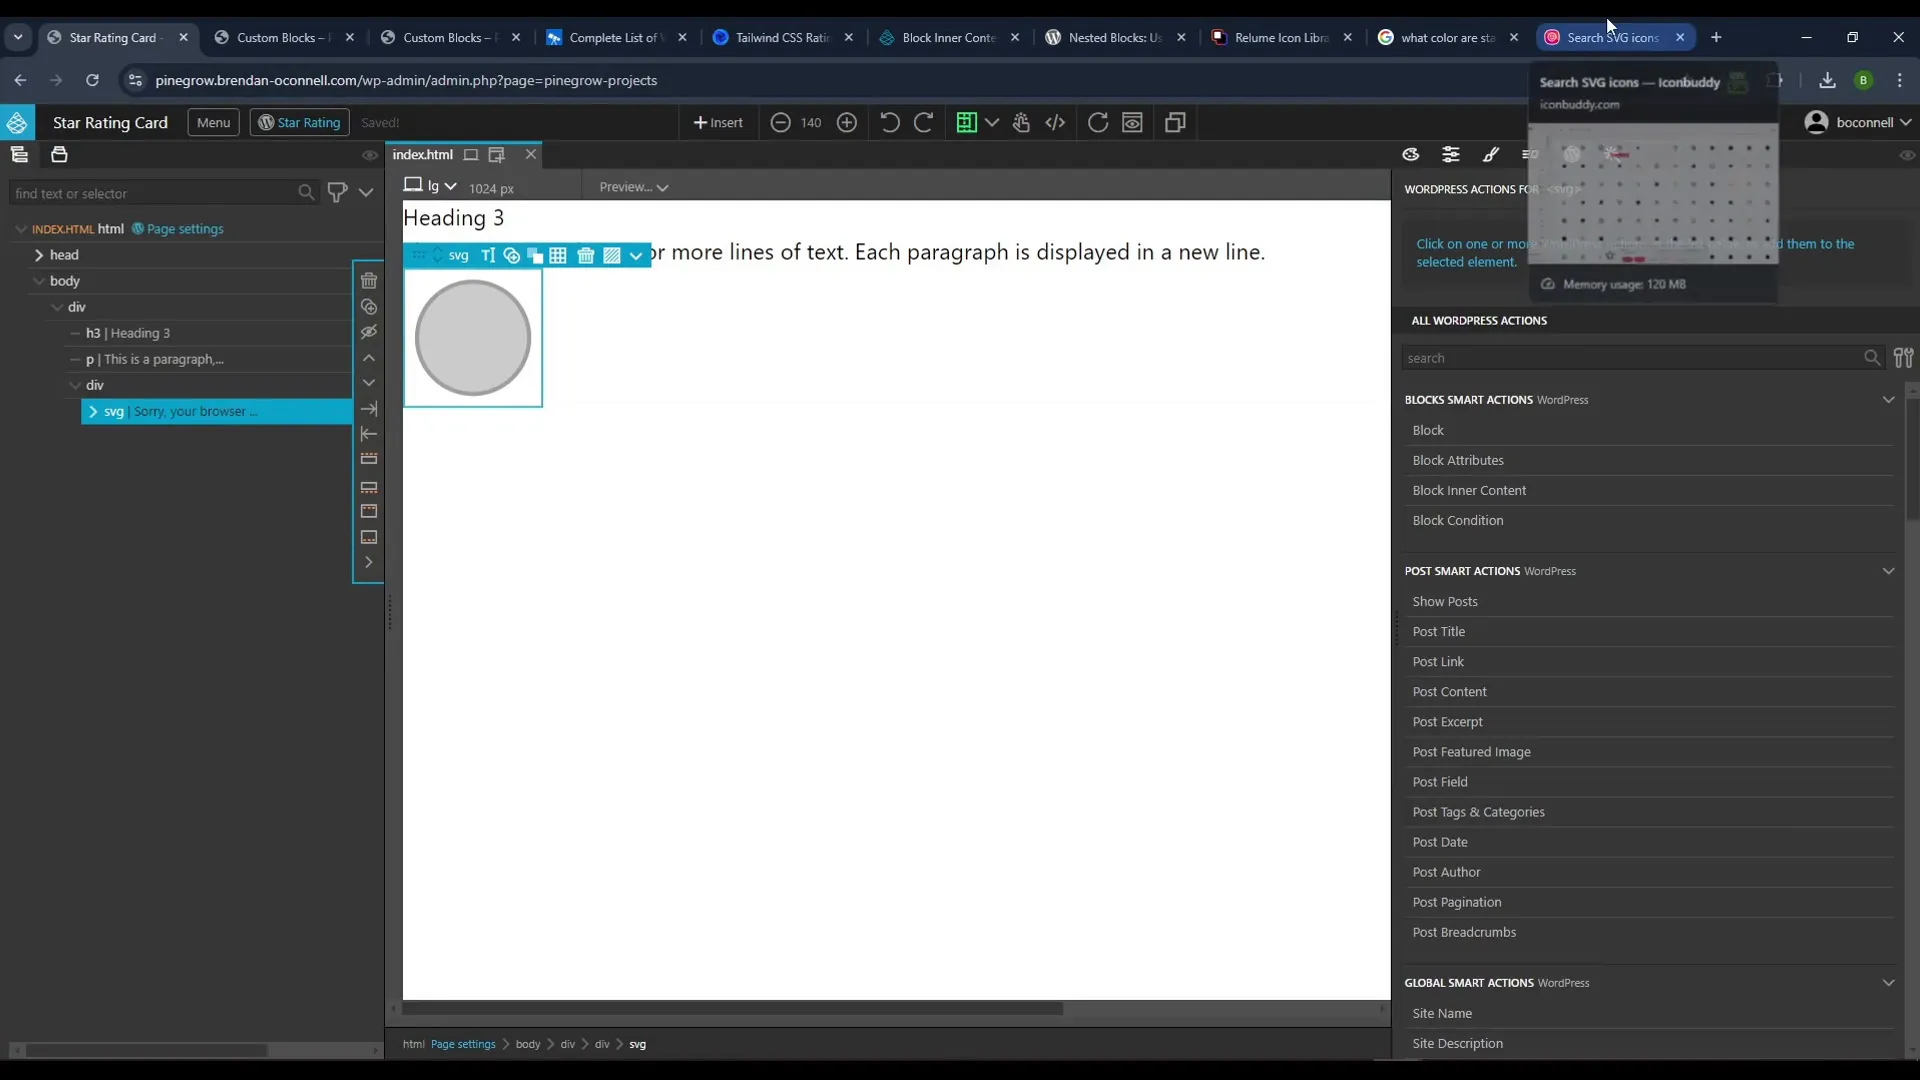
Inside this <div>, add an <h3> for the title and a <p> for the review content. Then, create another <div> specifically for the star rating icons.
Incorporating SVG Icons for Stars
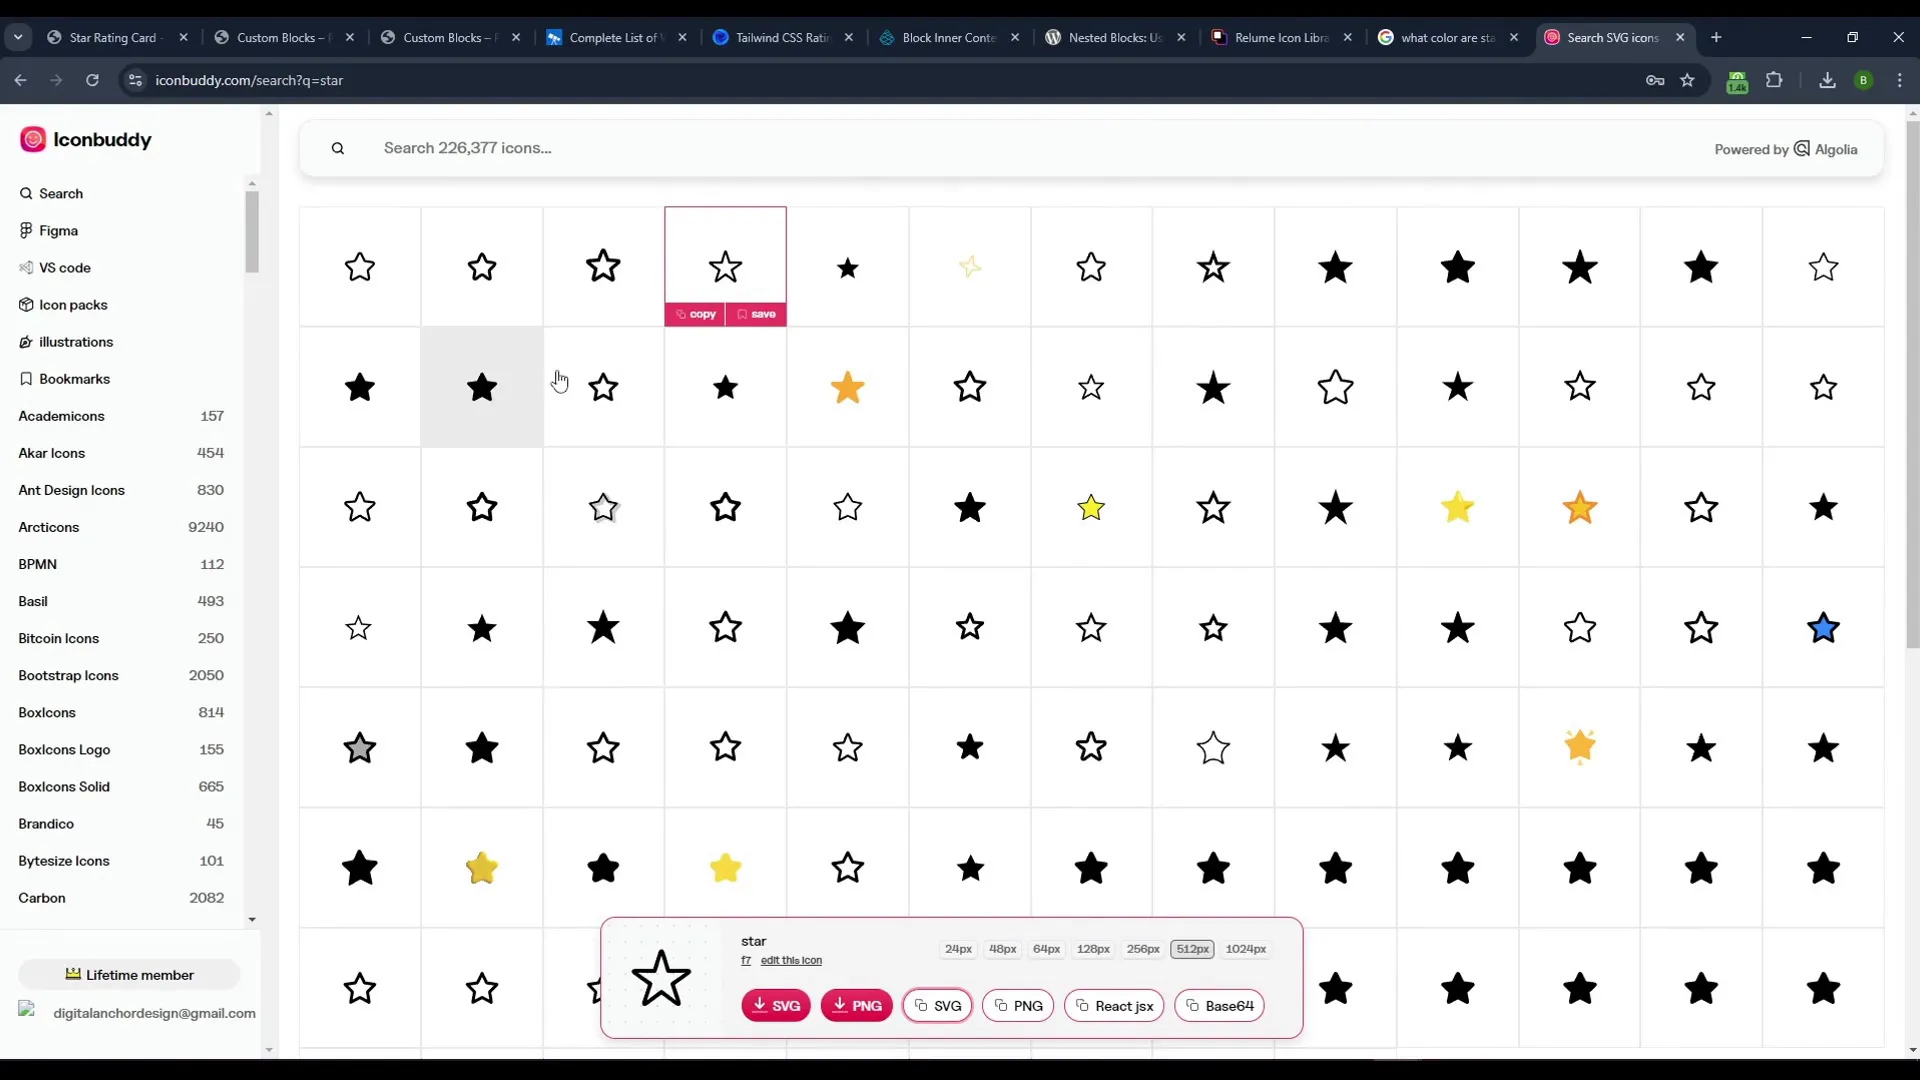
Next, we’ll need to add SVG icons for the stars. Use an icon library to copy the SVG code for filled and empty stars. Insert these SVGs into the star rating wrapper we created earlier.
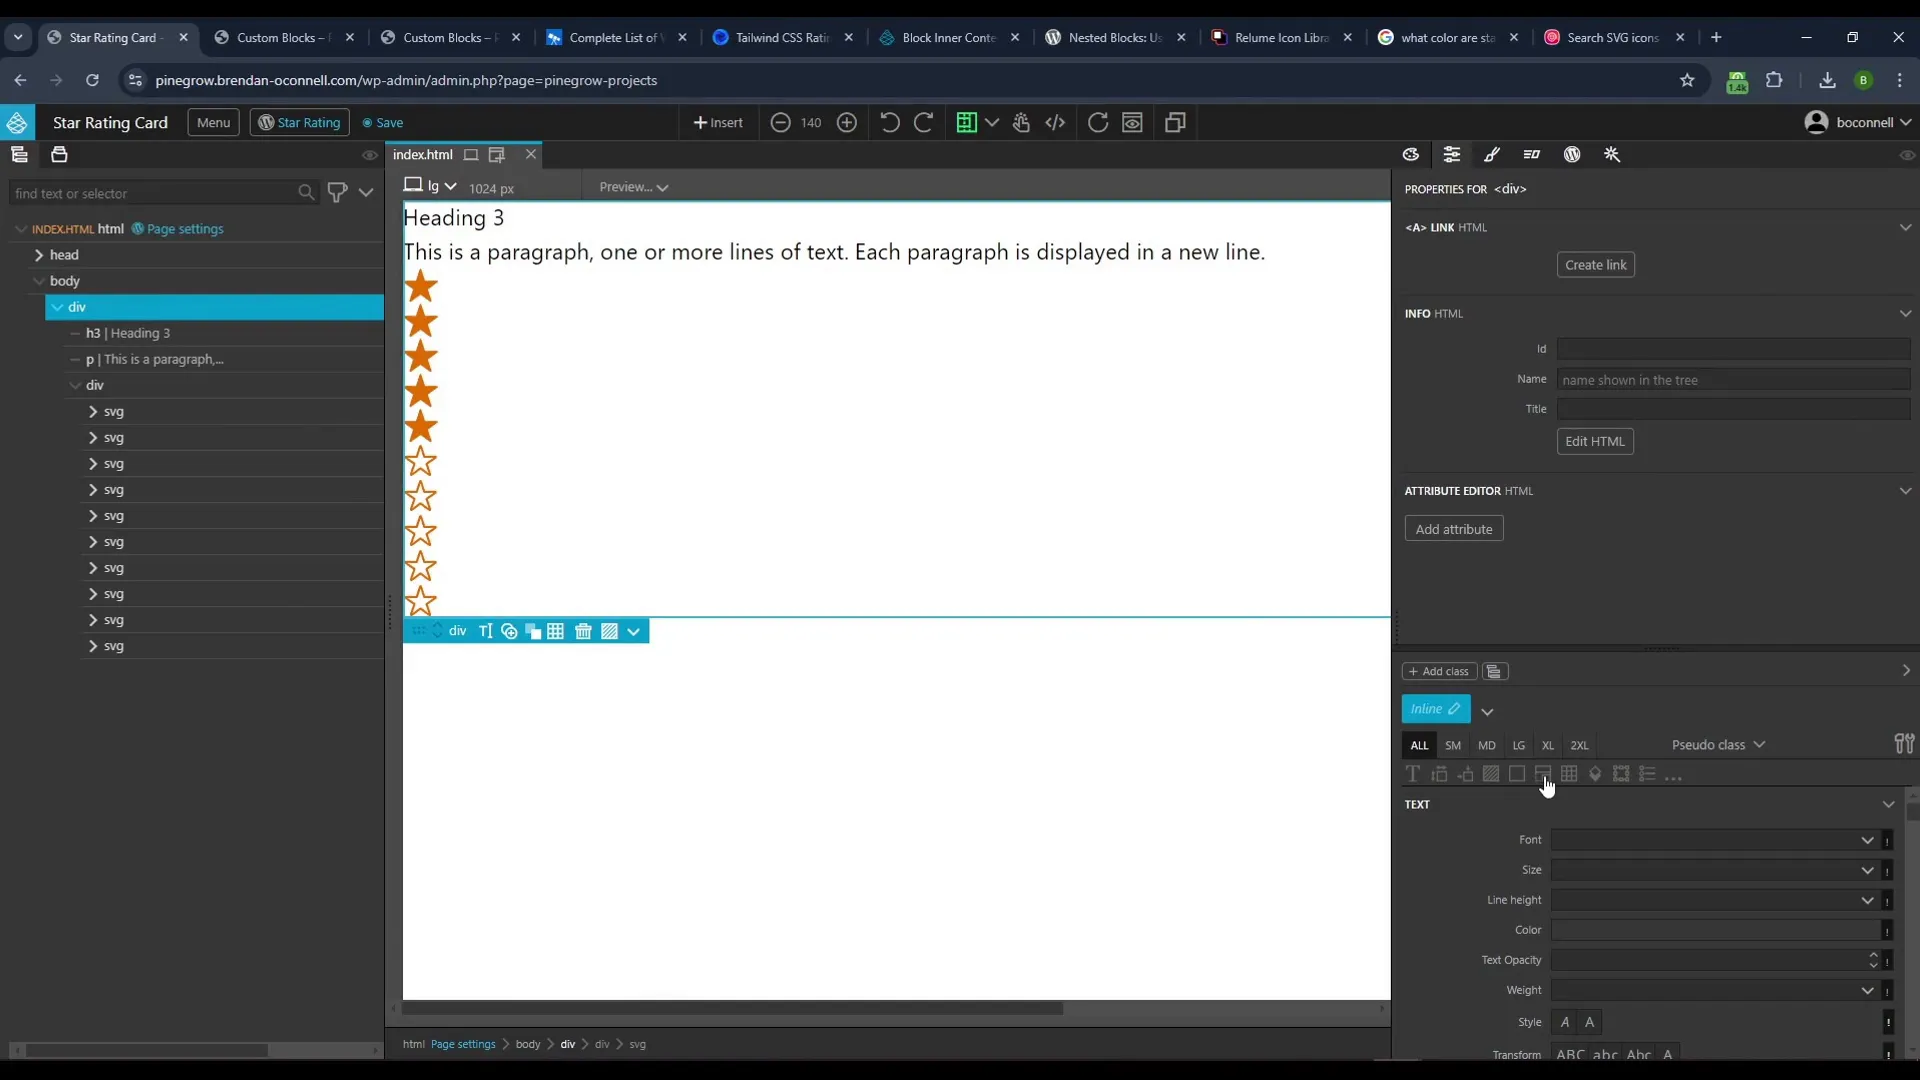
After inserting the SVGs, we can style them using Tailwind CSS. We’ll apply padding and flex properties to ensure they display correctly. This step is crucial for making the rating visually appealing and functional.
Turning the Structure into a Custom Block
Now that we have our structure in place, let’s convert it into a custom block. In Pinegrow, navigate to the WordPress actions panel and turn your <div> into a block. Name it “star rating demo card” and add a block attribute for the review title.
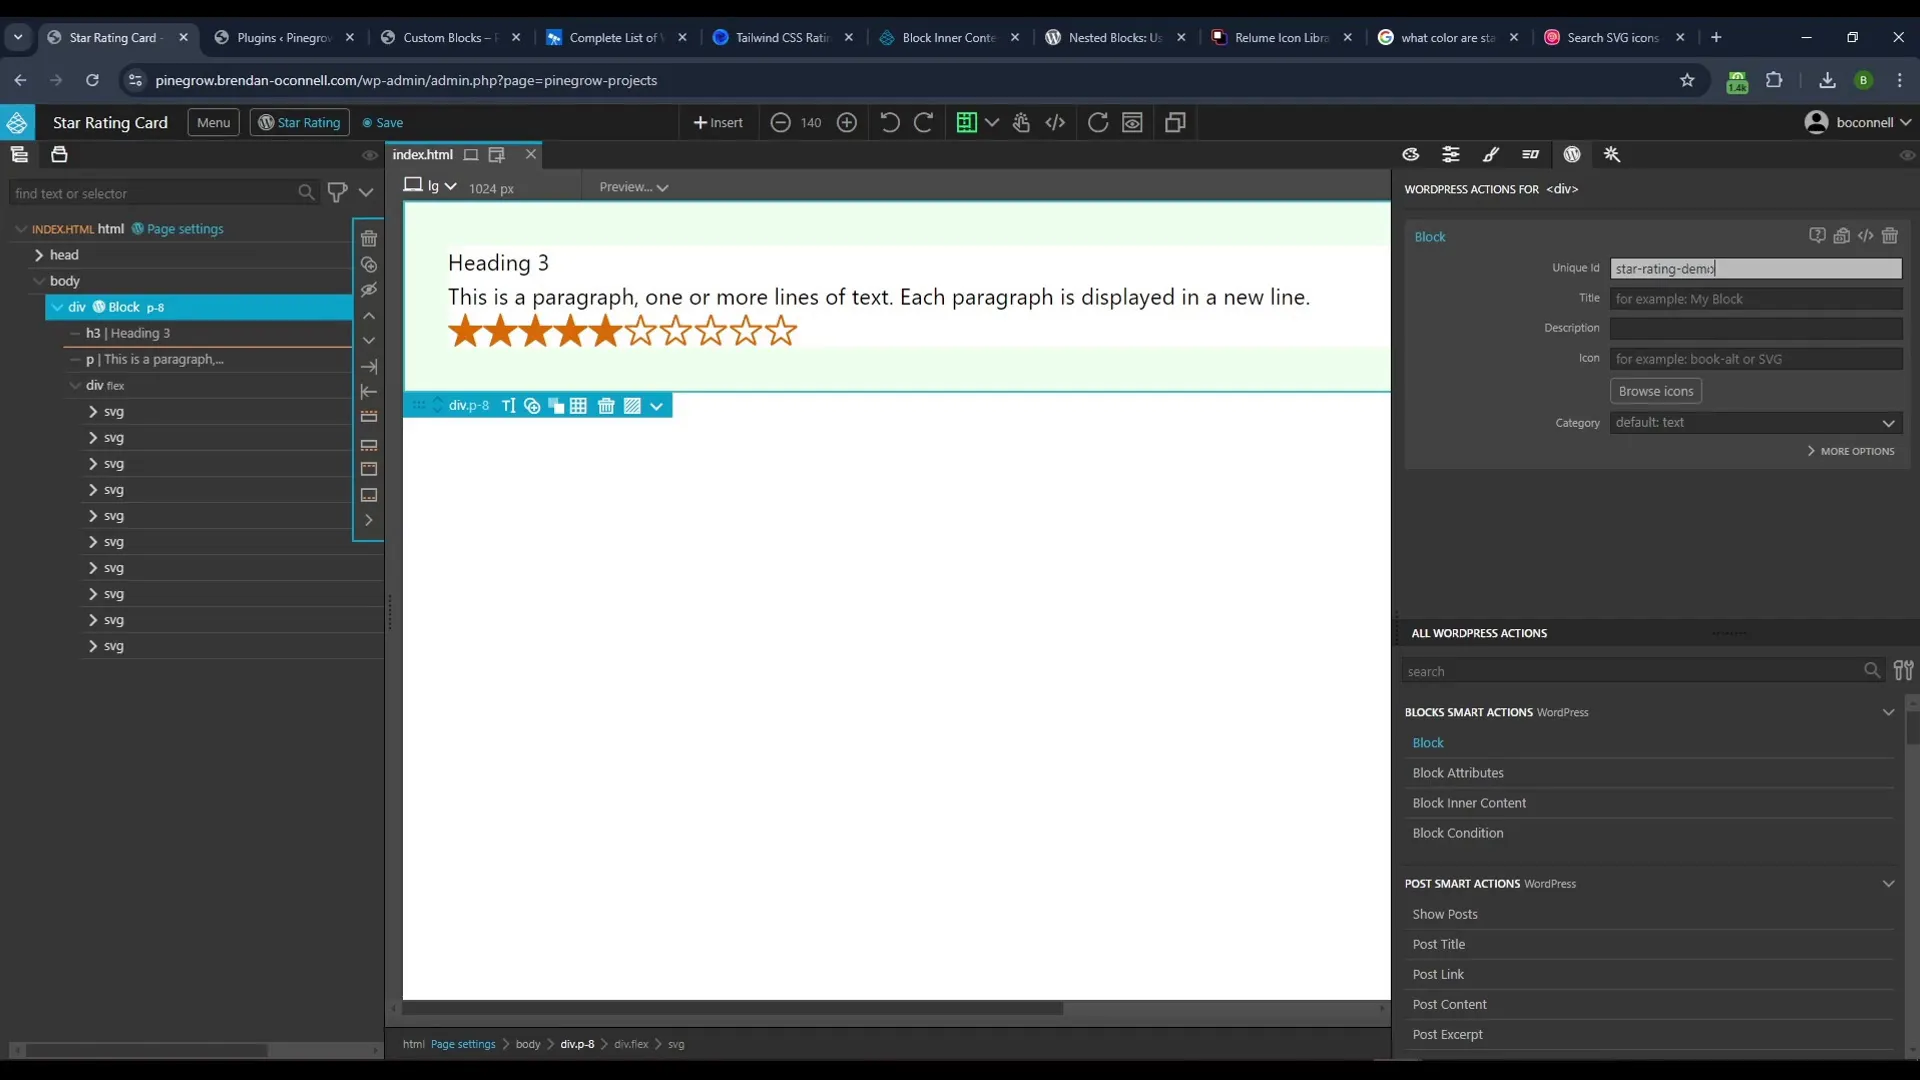
This block attribute will allow users to modify the title directly from the WordPress editor, making it more user-friendly.
Adding Inner Blocks for Content Flexibility
To enhance the block’s functionality, we’ll implement inner blocks. This feature allows users to add various types of content such as paragraphs, lists, or images within the star rating card.
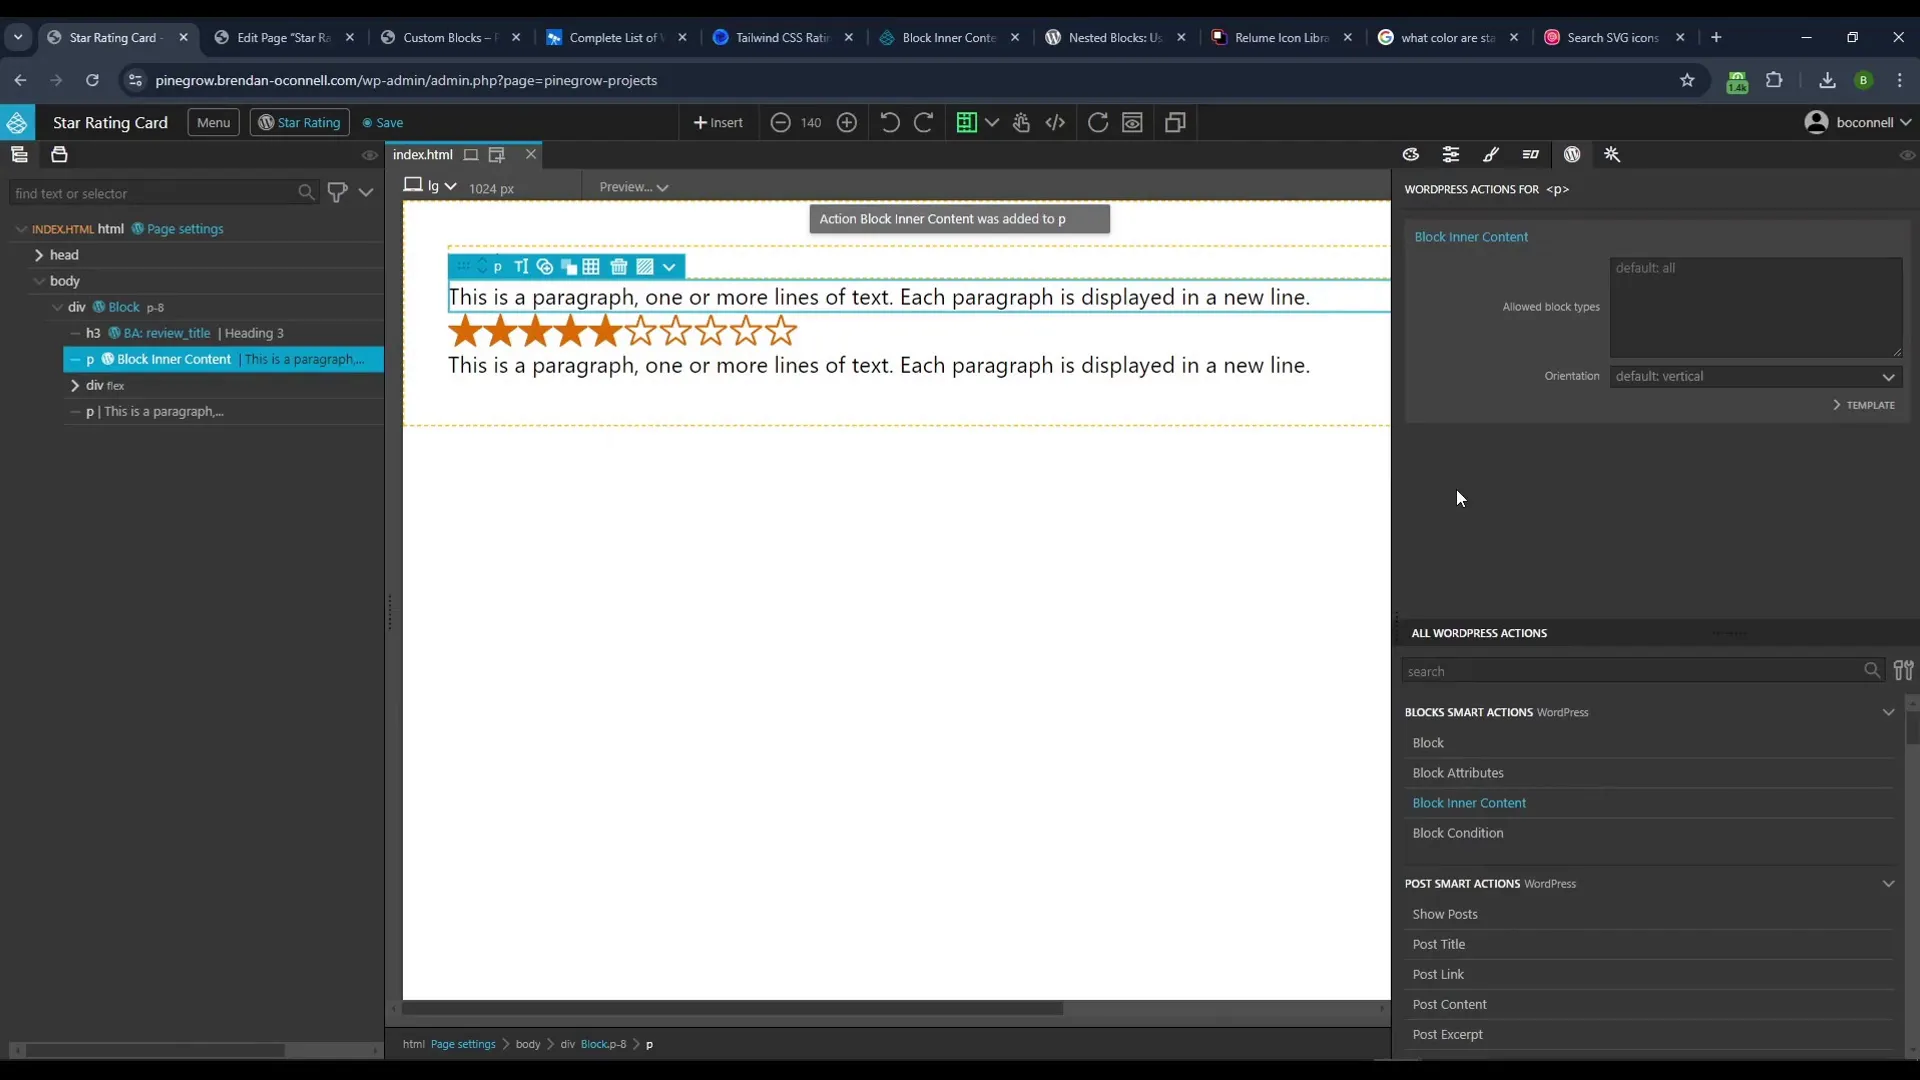
In Pinegrow, define which blocks can be added as inner content. This restriction ensures that users can only add relevant content, maintaining the block’s integrity.
Styling the Star Rating Block
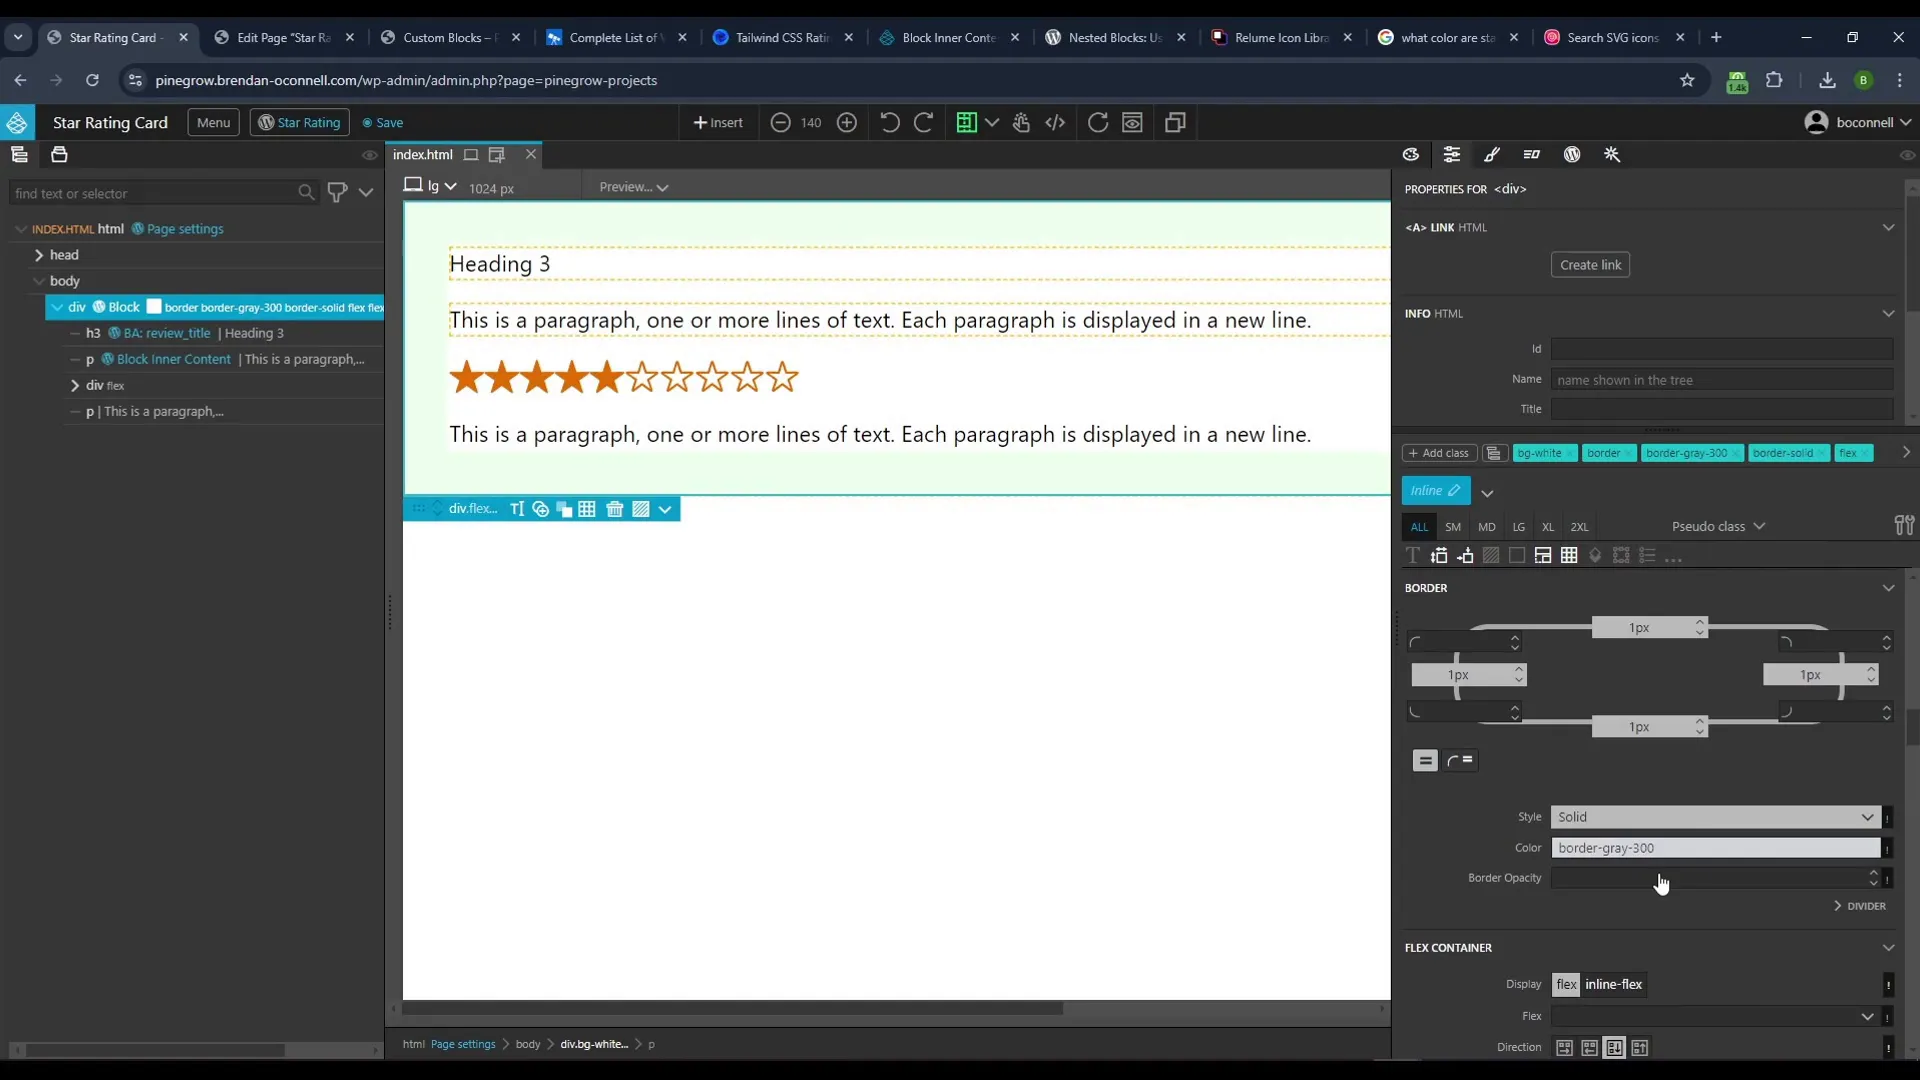
After setting up the structure and functionality, it’s time to style the star rating block. Utilizing Tailwind CSS, we can create a visually appealing design that matches modern web standards. We will add padding, background colors, and borders to enhance the overall appearance.
Implementing Conditional Rendering for Star Ratings
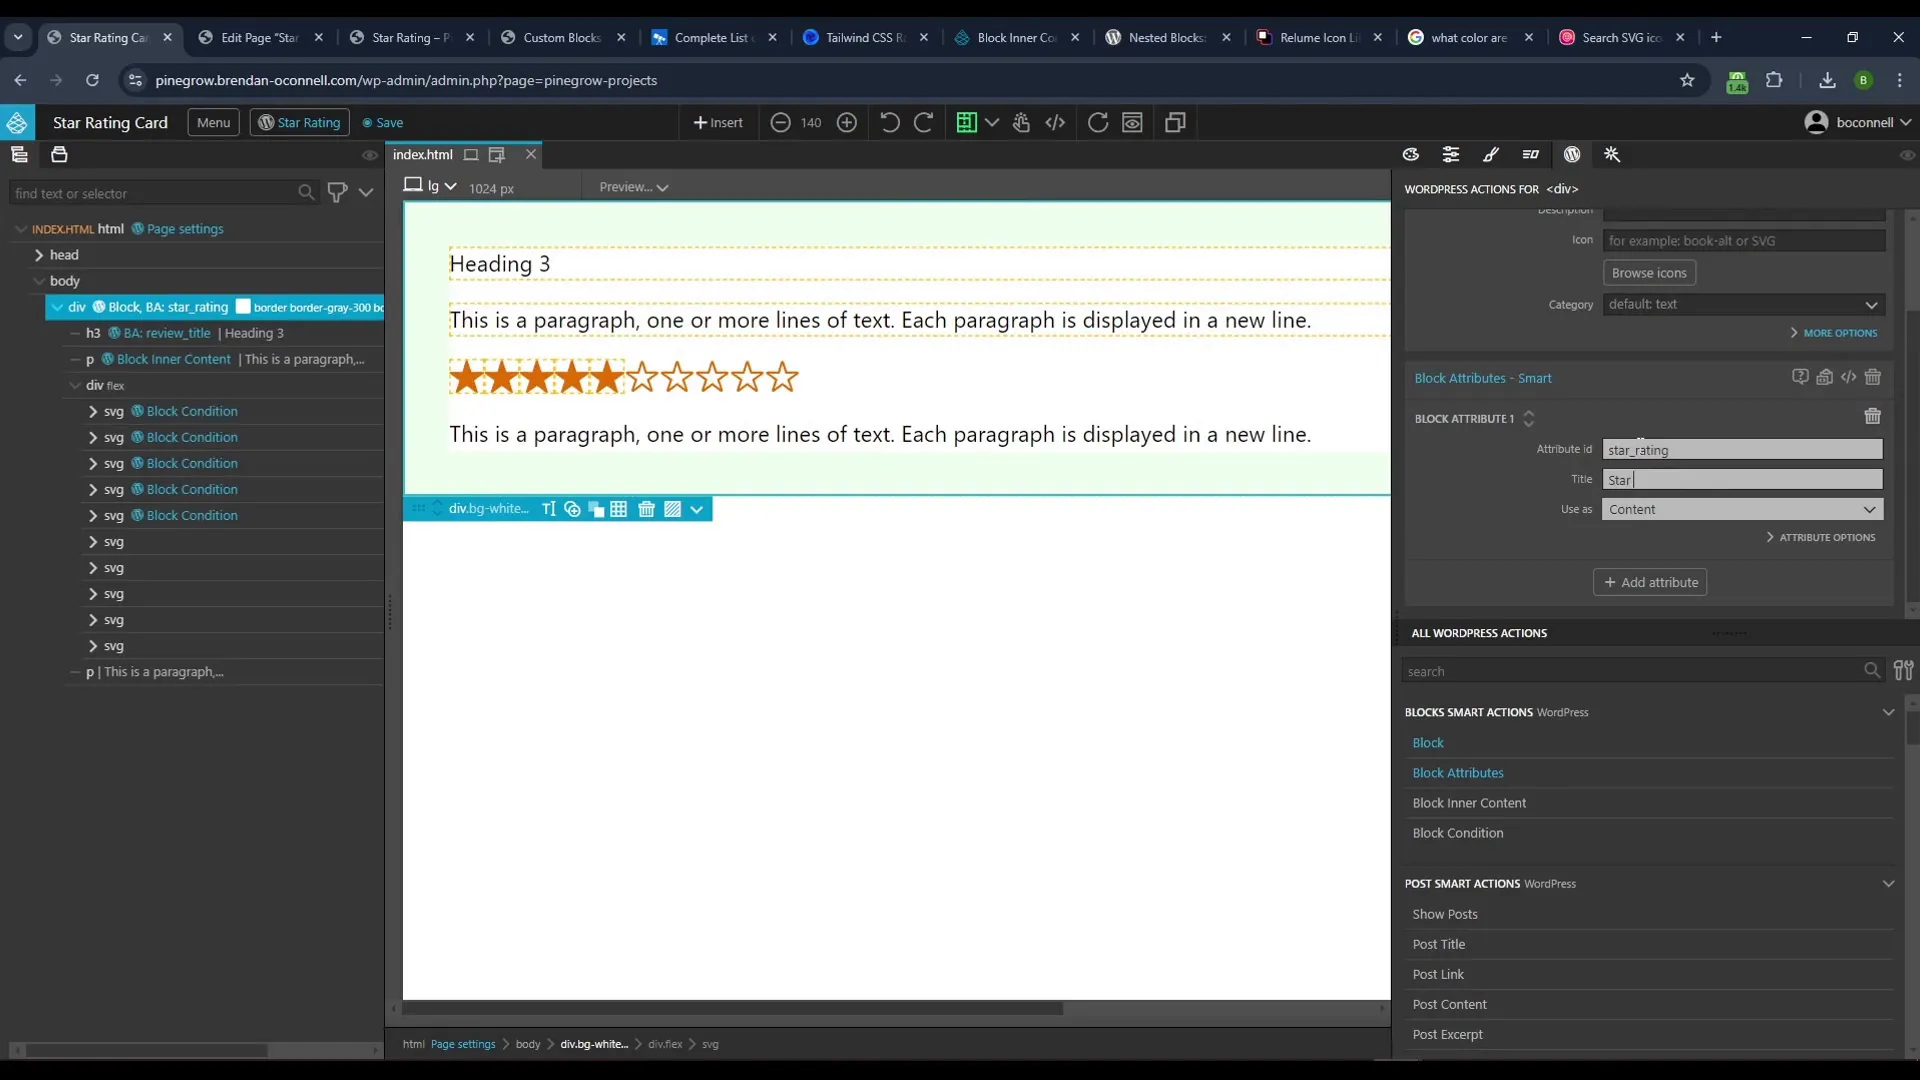
The most exciting part of this project is implementing conditional rendering for the stars. We’ll create a block attribute called “star rating” that allows users to select a rating from a dropdown menu. This value will dictate which stars are filled and which are empty.
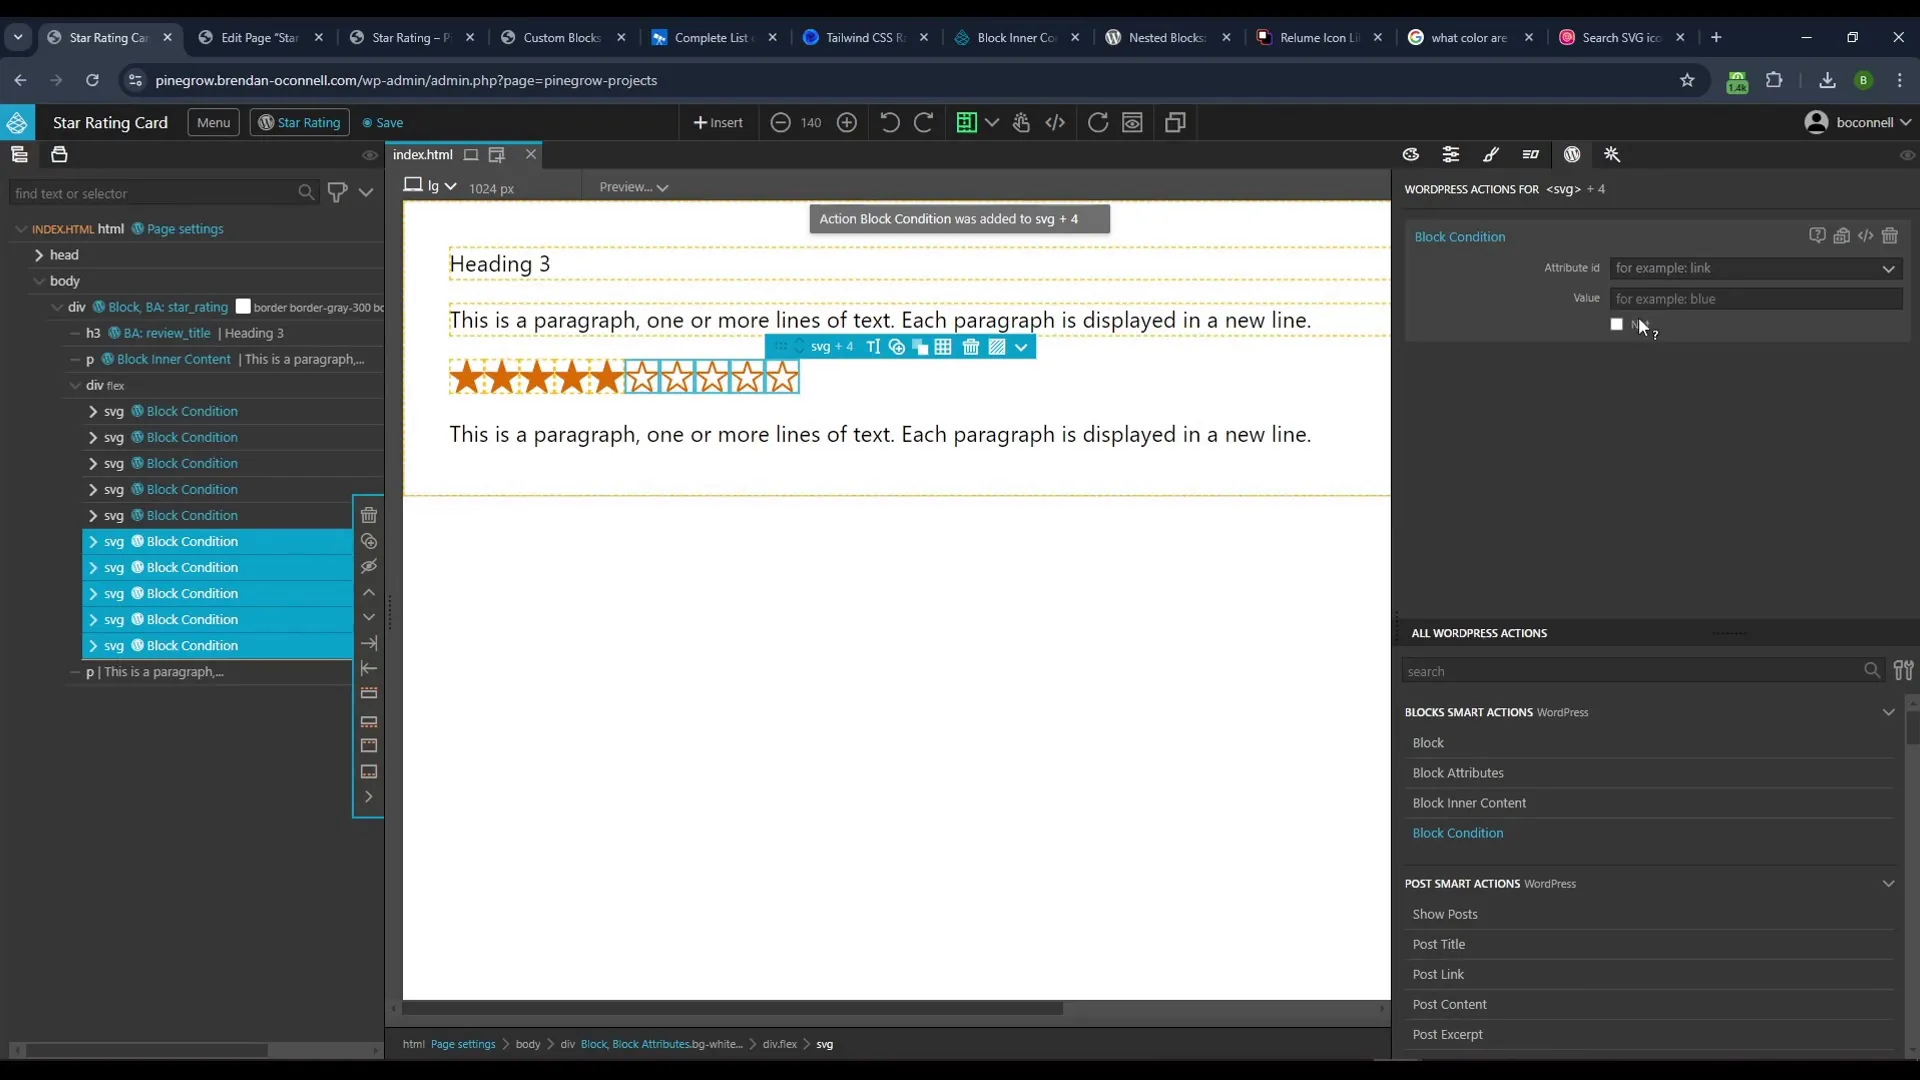
Next, we’ll set up block conditions based on the selected rating. For each star icon, we’ll specify when it should be displayed based on the rating value. This logic enables the dynamic star display based on user input.
Final Touches and Testing
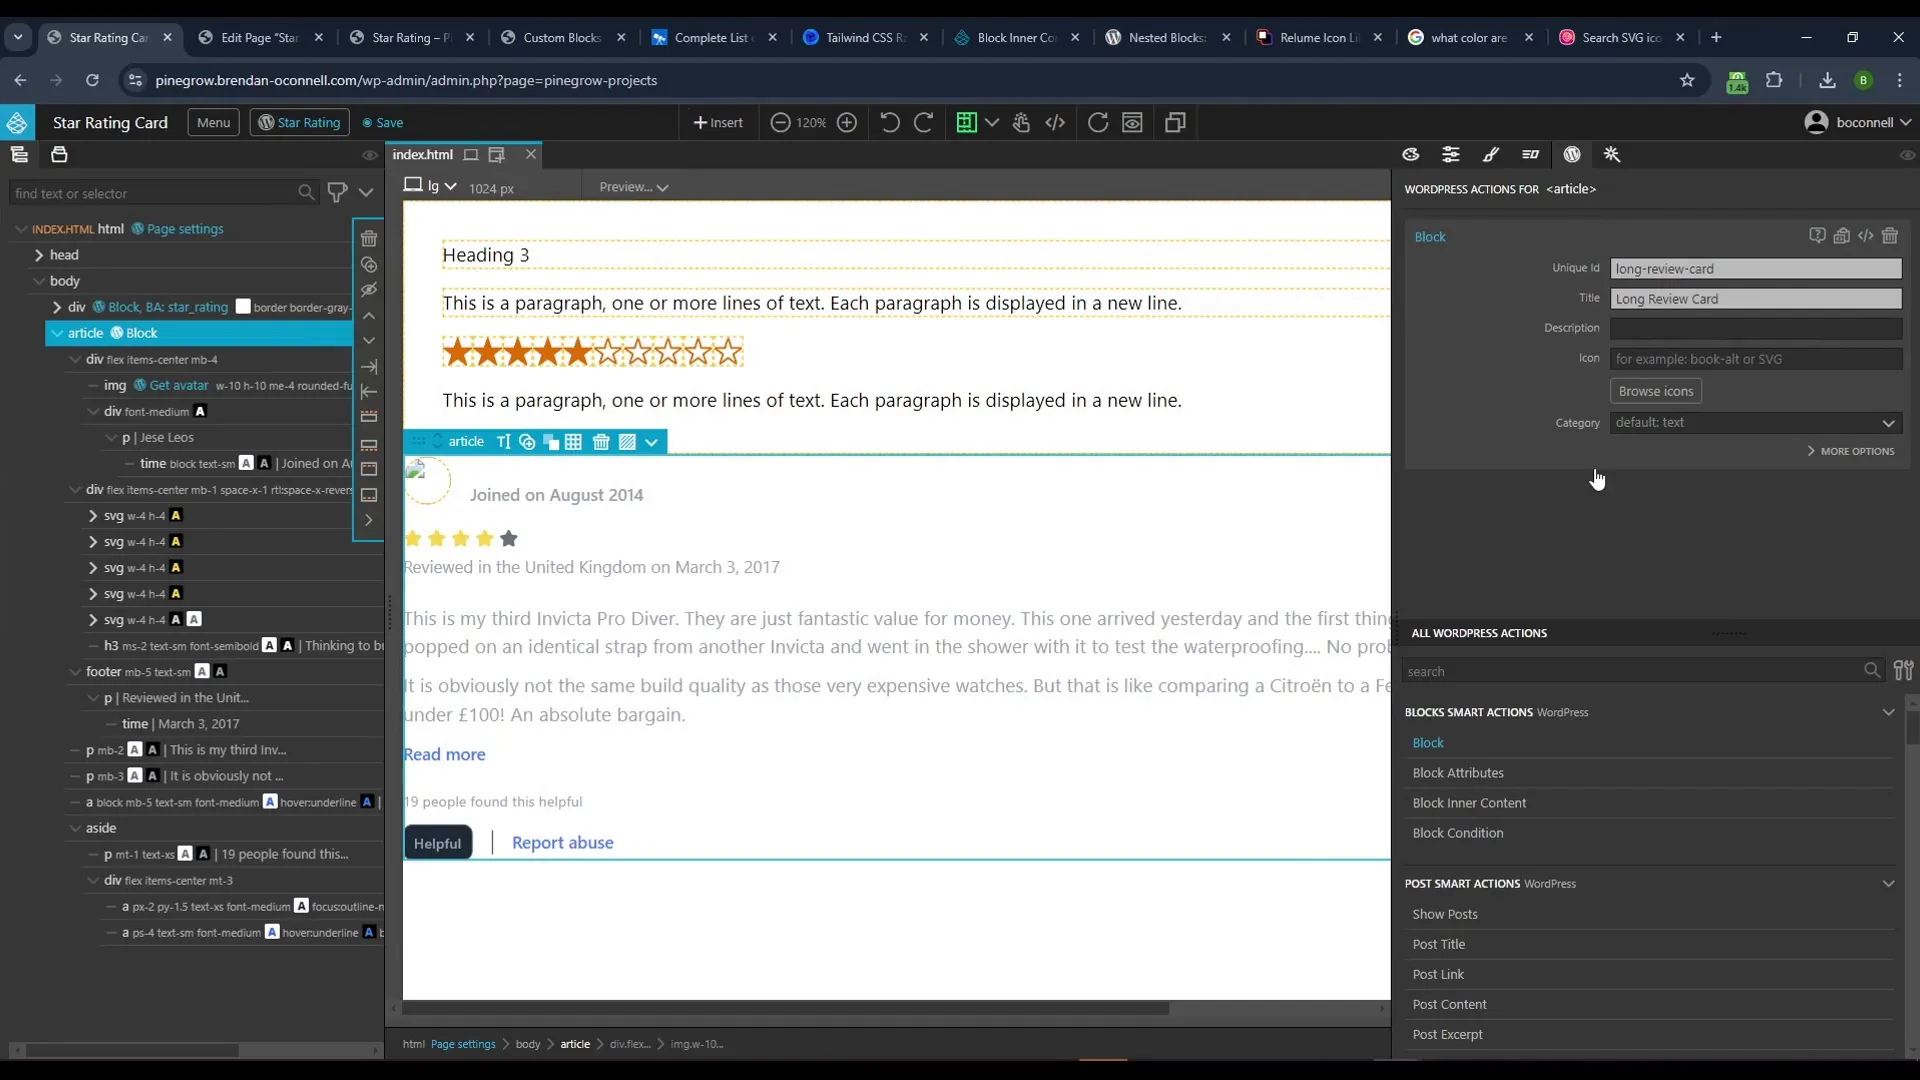
With the functionality in place, it’s time to export the plugin and test it on the front end. Create a new page in WordPress and insert the star rating demo card. You should see the rating display correctly, allowing for interactive changes.
Conclusion
Creating a custom star rating block in WordPress using Pinegrow and Tailwind CSS is a straightforward process that enhances user interaction on your site. By following these steps, you can provide clients with a flexible and visually appealing way to incorporate reviews into their websites.
Are you interested in building custom blocks? Share your experiences or questions in the comments below!
FAQ
What is Pinegrow?
Pinegrow is a web editor that allows you to build responsive websites visually. It supports WordPress theme development, making it easier for developers to create custom blocks and plugins.
Can I use other CSS frameworks with Pinegrow?
Yes, Pinegrow supports various CSS frameworks, including Bootstrap and Foundation, in addition to Tailwind CSS.
Is coding required to create custom blocks?
While some coding knowledge can be helpful, Pinegrow’s visual interface significantly reduces the need for extensive coding, allowing you to create functional blocks easily.

