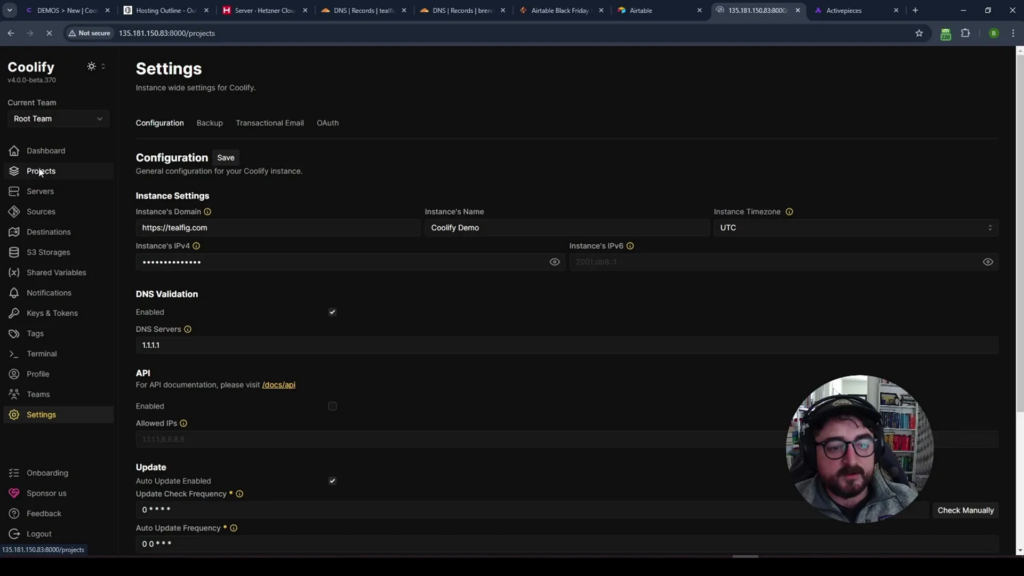
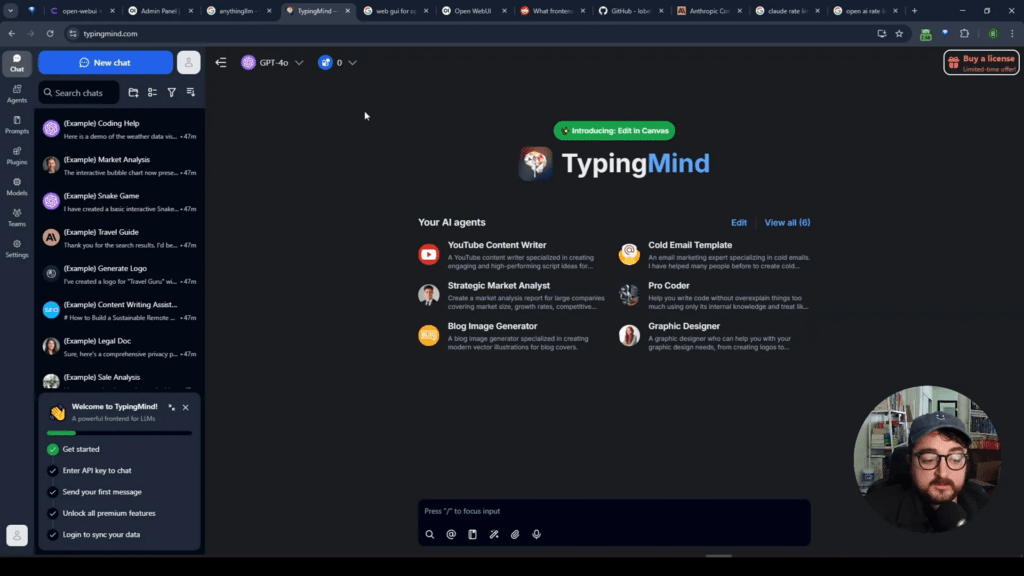
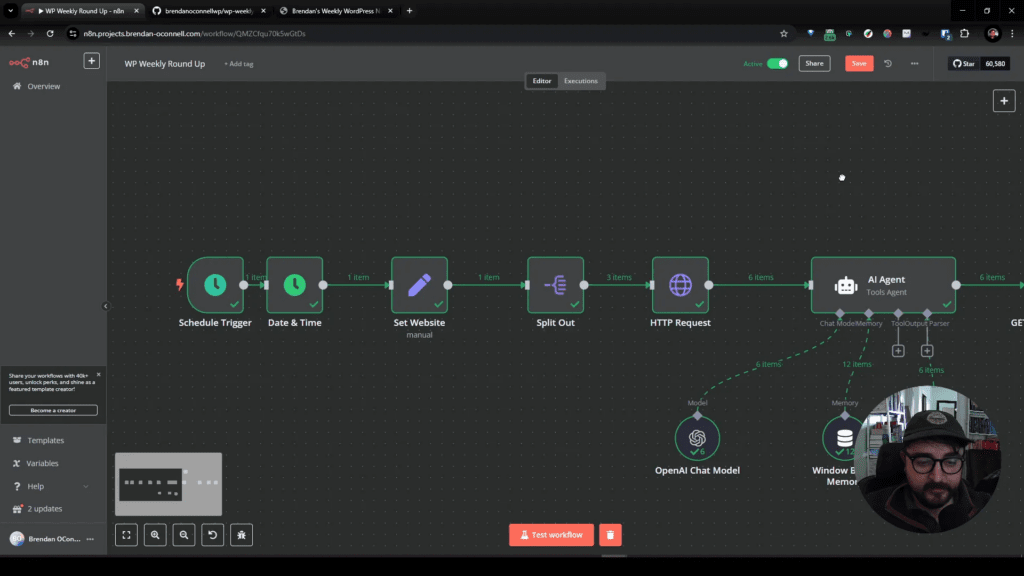
This Black Friday, instead of thinking about how much money you can spend, consider how much you can save by self-hosting your applications. In this blog post, we will discuss Coolify, a powerful tool that allows you to spin up servers and host your own applications. This gives you full control over data ownership and the structure of your content, limited only by your server resources. Let’s dive into how to set up your server, install Coolify, and deploy an application.
Table of Contents
- What is Coolify?
- Getting Started with Coolify
- Setting Up Your First Application
- Exploring One-Click Install Options
- Managing Your Applications
- Benefits of Self-Hosting with Coolify
- Conclusion
- FAQs
What is Coolify?
Coolify is an open-source platform that simplifies the self-hosting process. It allows you to manage your applications, databases, and other services without the complexity of traditional cloud hosting. With Coolify, you can easily deploy applications using a one-click install feature, making it accessible even for those who are not tech-savvy.
Once you have Coolify installed, you can deploy applications directly from your GitHub repository or a public repository. You can create Docker Compose files and configure databases as needed. The platform supports a wide range of applications, from content management systems like WordPress to databases and more.
Getting Started with Coolify
To get started with Coolify, you’ll need a VPS (Virtual Private Server). You can self-host it on your own VPS or use cloud hosting services starting as low as $5 a month. For this guide, we will focus on self-hosting. Here’s how you can do it:
Choosing a VPS Provider
When selecting a VPS provider, consider options like RackNerd, which offers competitive pricing and reliable performance. For example, you can get a 3GB RAM and 2 CPU VPS for just $27 per year, or a 5GB RAM and 4 CPU for under $5 per month when paid annually. Alternatively, Hetzner is another excellent choice known for its affordability and performance.
When you select your server, make sure to choose the appropriate specifications based on the applications you plan to run. For example, if you intend to use Superbase, you might need a more robust configuration compared to lighter applications.
Installing Coolify
Once you have your server set up, the next step is to install Coolify. Here’s a step-by-step guide:
- Access your server: Use SSH to connect to your server. If you need help setting up SSH keys, there are plenty of resources available online.
- Run the installation command: Execute the following command to install Coolify:
curl -fsSL https://cdn.coollabs.io/coolify/install.sh | sudo bash- Complete the installation: The installation process will take a few moments. During this time, Coolify will install all necessary dependencies.
After a successful installation, you will receive a message indicating that your instance is ready to use. You can access the Coolify dashboard through the provided IP address.
Setting Up Your First Application
After logging into the Coolify dashboard, you can start deploying your applications. Here’s how:
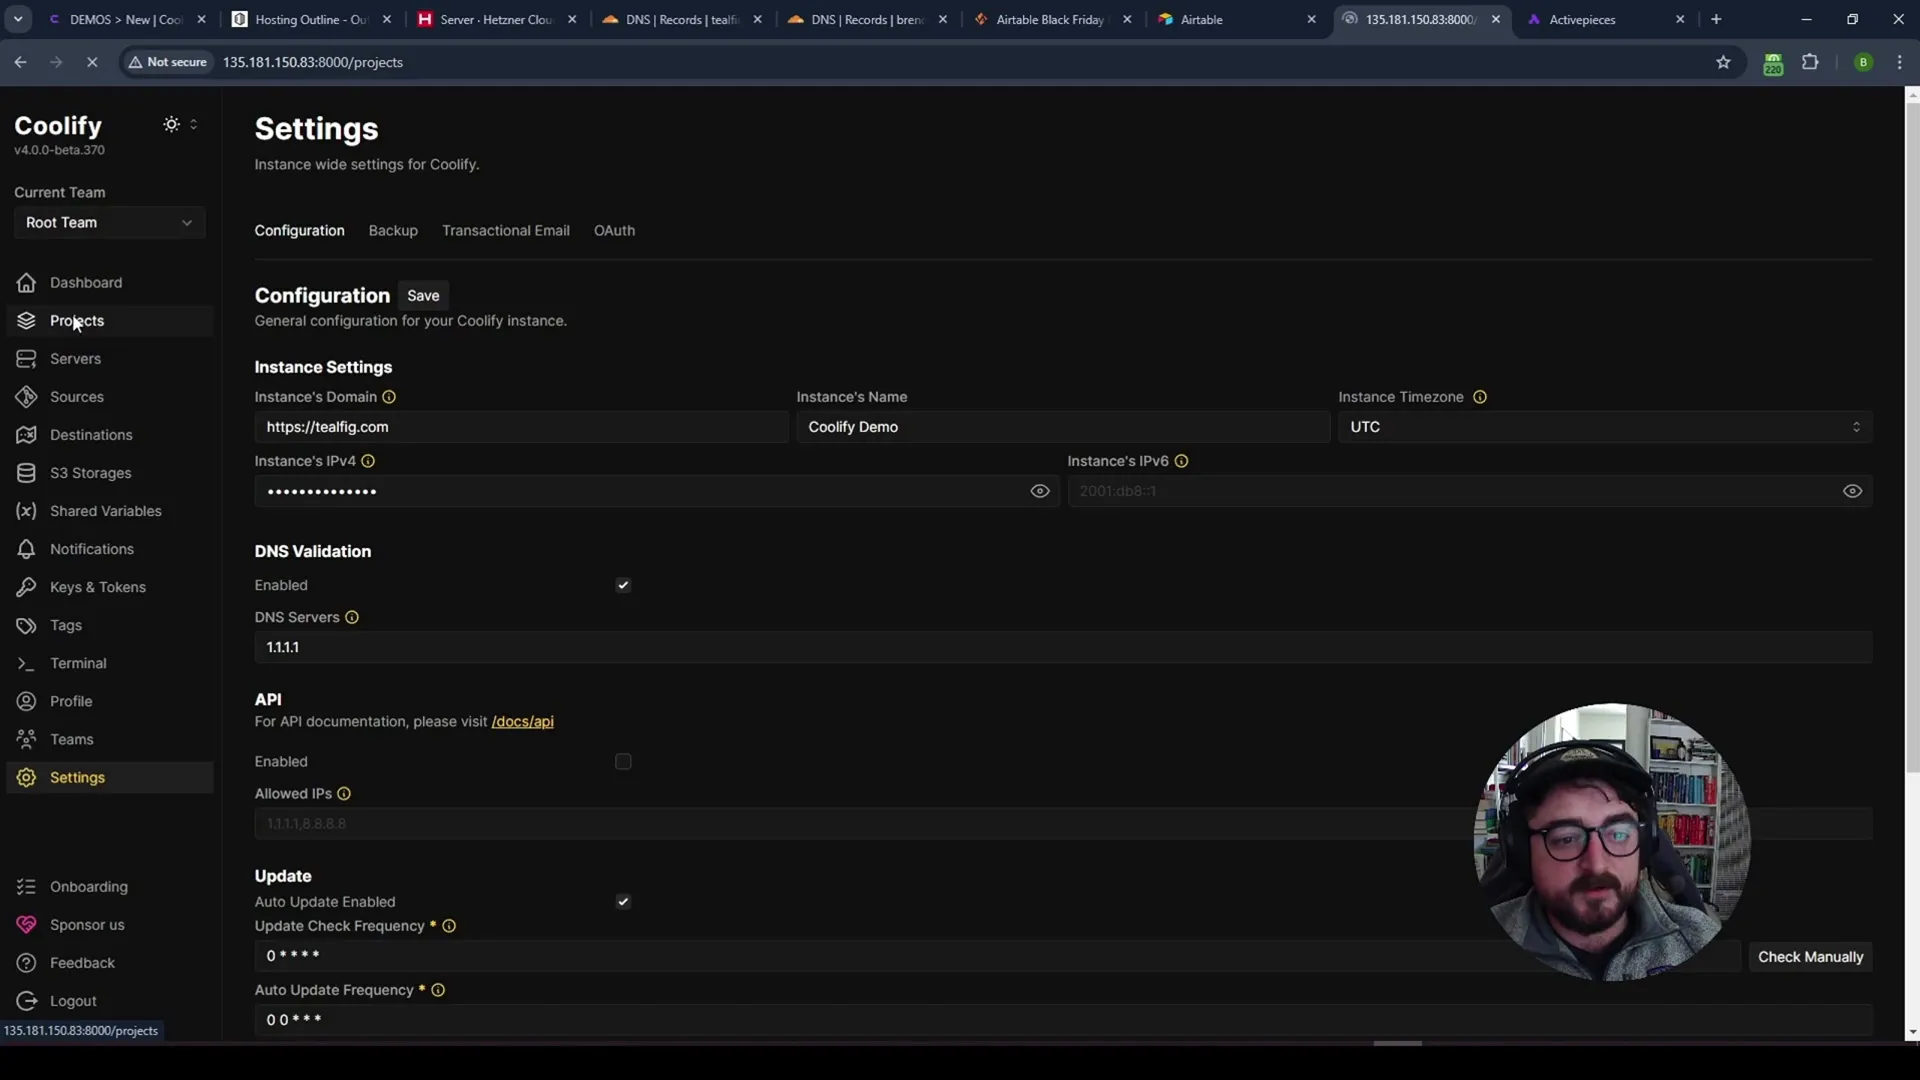
- Add a Domain: You can add a top-level domain or a subdomain. Ensure that the IP address is correctly configured in your DNS settings.
- Create a Project: Click on “Add Project” and give it a descriptive name. You can also set up different environments, such as staging and production.
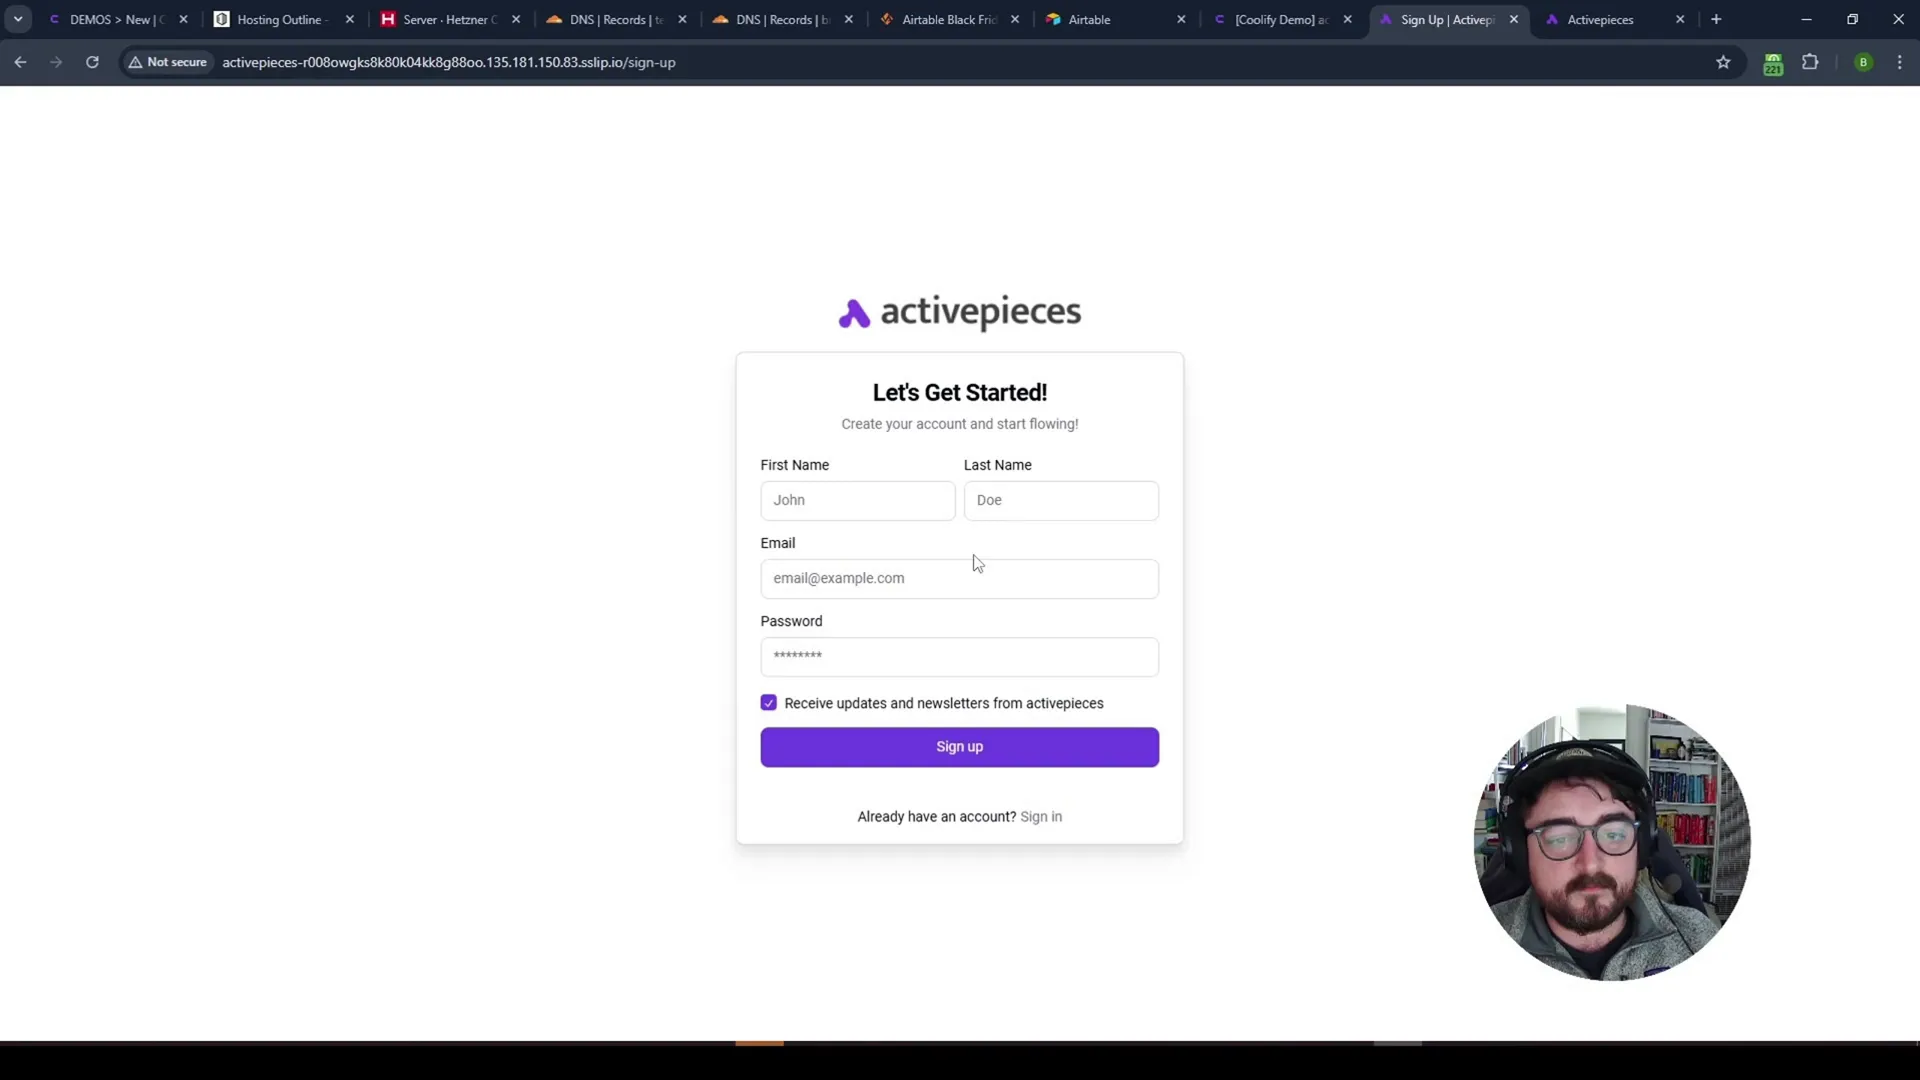
- Install an Application: Coolify provides a one-click install feature for various applications. For instance, you can install Active Pieces, which allows you to self-host your data without limits.
Exploring One-Click Install Options
Coolify offers numerous one-click install options for various applications. You can self-host everything from content management systems like WordPress to budgeting tools and document signing services. The list of supported applications is continually expanding, so keep an eye on the updates.
Some examples of applications you can install include:
- WordPress
- Ghost
- Strapi
- Superbase
- URL Shorteners
Managing Your Applications
Once your applications are up and running, you can manage them easily through the Coolify dashboard. You can update settings, add new resources, and monitor the performance of your applications. It’s important to ensure that your applications are properly configured and secured.
For example, after deploying an application, you might need to adjust the domain settings to ensure that your application is accessible via the correct URL. This might involve adding a wildcard domain or configuring SSL certificates.
Benefits of Self-Hosting with Coolify
Self-hosting your applications using Coolify comes with several advantages:
- Cost Savings: By self-hosting, you can significantly reduce your cloud hosting costs.
- Data Ownership: You have complete control over your data, ensuring that it remains private and secure.
- Flexibility: You can customize your server setup to meet your specific needs and requirements.
- Scalability: As your applications grow, you can easily scale your server resources.
Conclusion
Coolify is a robust platform that simplifies the self-hosting process, giving you the tools to manage your applications efficiently. Whether you are looking to host a personal project or set up applications for clients, Coolify offers an intuitive interface and powerful features to make the process seamless. With the ability to deploy various applications quickly and manage them easily, it’s an excellent choice for anyone looking to take control of their hosting environment.
FAQs
What is the cost of using Coolify?
Coolify can be cloud-hosted for as low as $5 a month, but self-hosting on a VPS can provide even greater savings.
Can I install WordPress using Coolify?
Yes, Coolify supports one-click installations for WordPress and other content management systems.
How secure is self-hosting with Coolify?
Self-hosting requires you to manage your own security measures, but Coolify provides tools and options to help secure your applications effectively.
For more information on Coolify, check out their website or their documentation.
If you’re looking for a reliable VPS provider, consider RackNerd for their affordable options: RackNerd – Introducing Infrastructure Stability.
Thank you for reading! If you found this guide helpful, please share it with others who might benefit from it.

